Okara tempeh
How to make okara tempeh

After squeezing the milk out of your soya beans pulp, transfer to a bowl. Add water to cover the top and stir. Scoop up any grit that floats to the top. The purpose of this step is to remove any soya skins that are still floating around which enables the tempeh starter to work better.
Transfer the okara to a large wok, cover with water and boil (set the timer for 15 minutes from when the water starts boiling). Be careful not to let the water boil over.
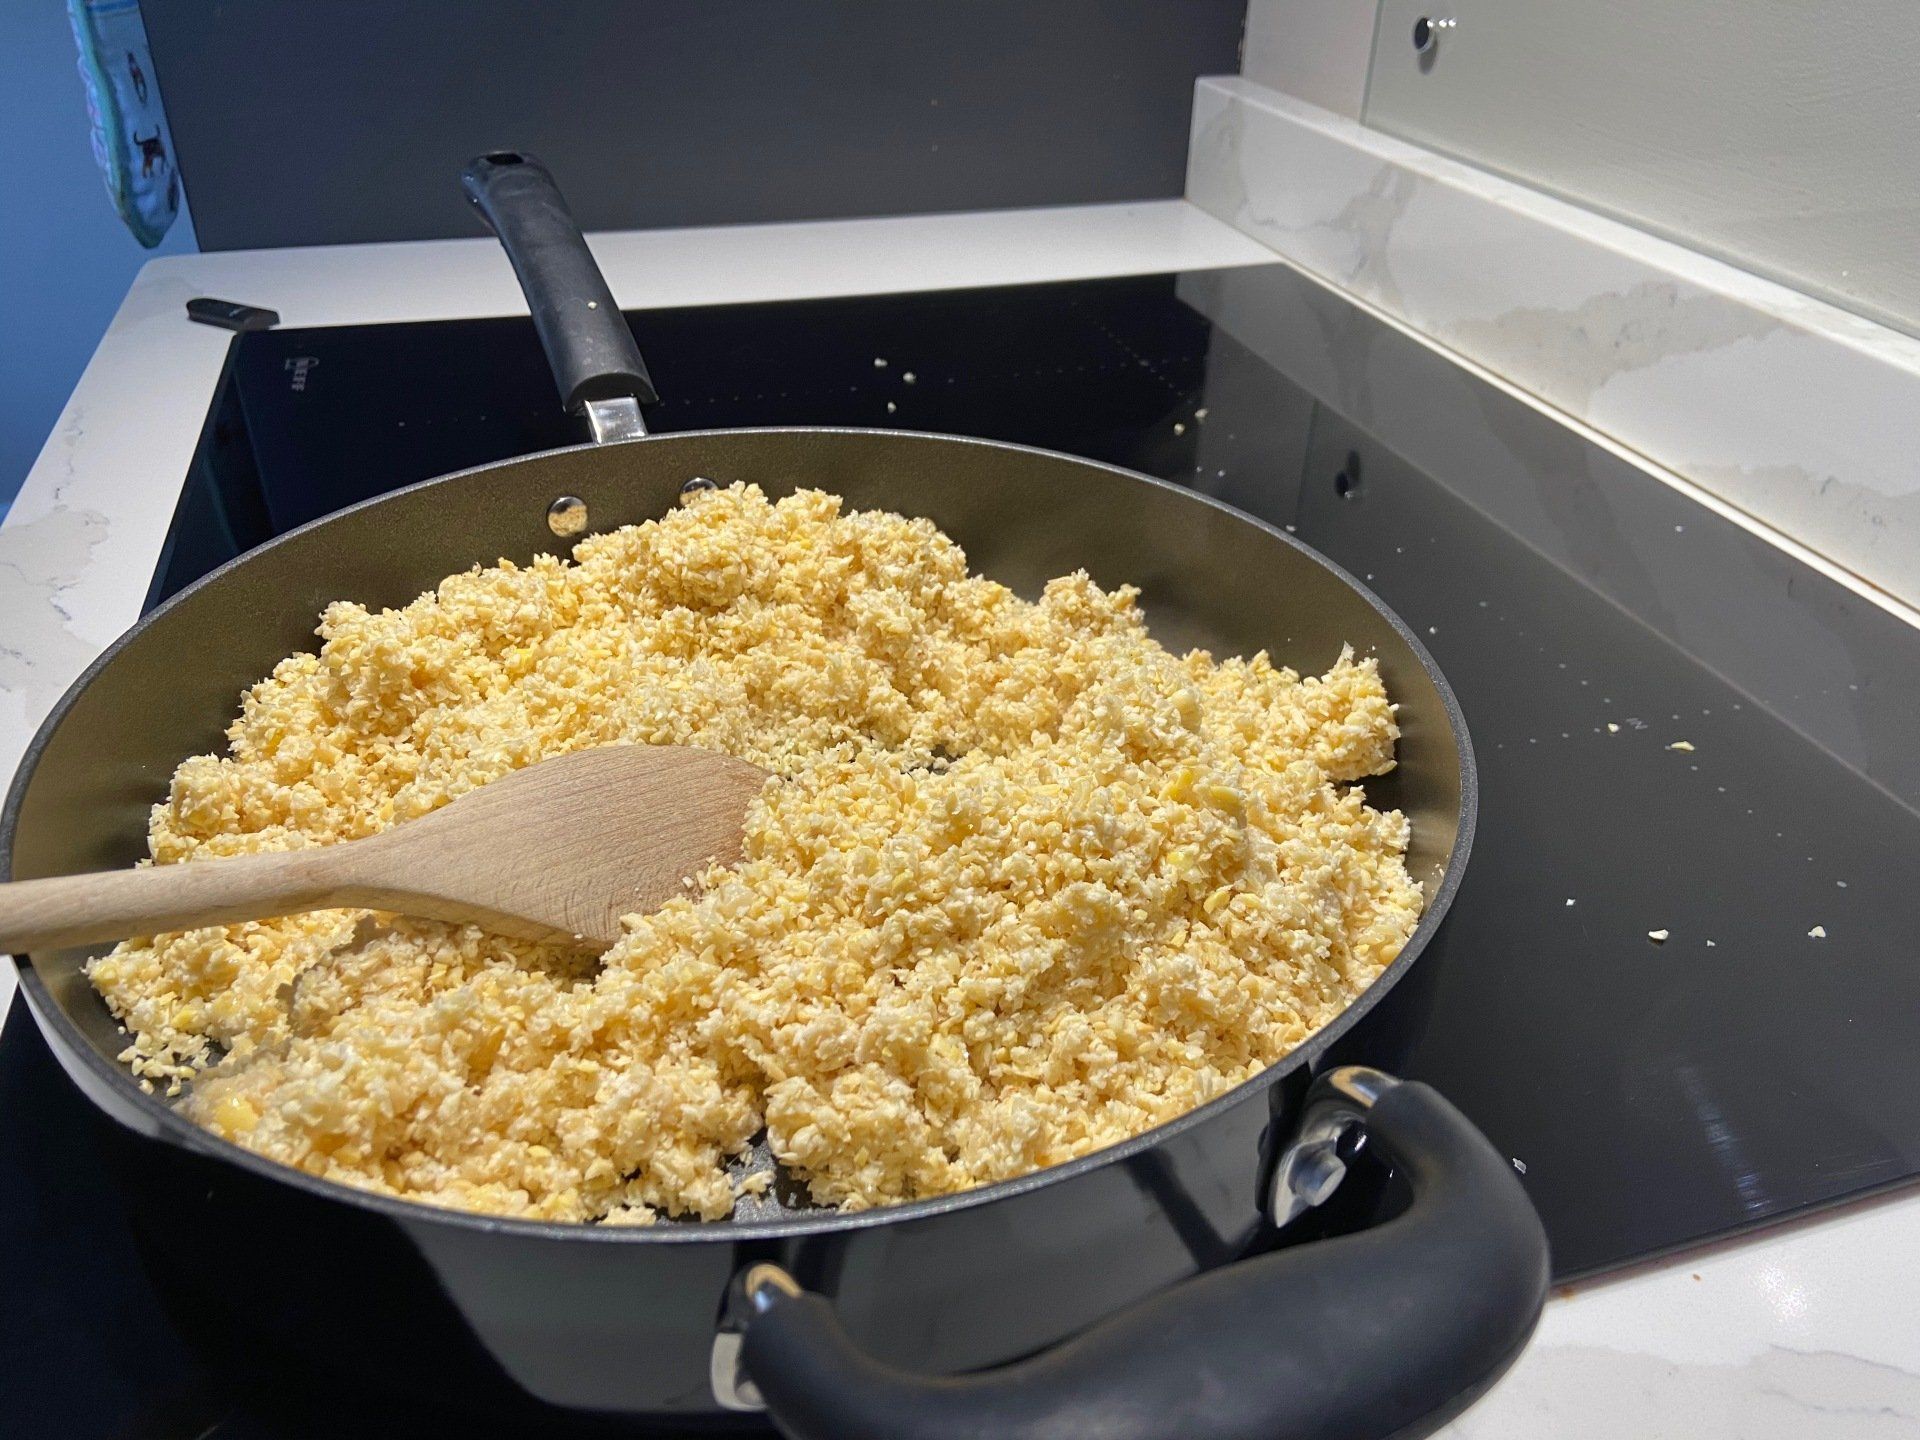
After boiling for 15 minutes, drain the excess water and return the wok to the hob. Keep stirring to avoid the beans burning. Set the timer to 20 minutes and reduce heat to medium high. Continue stirring
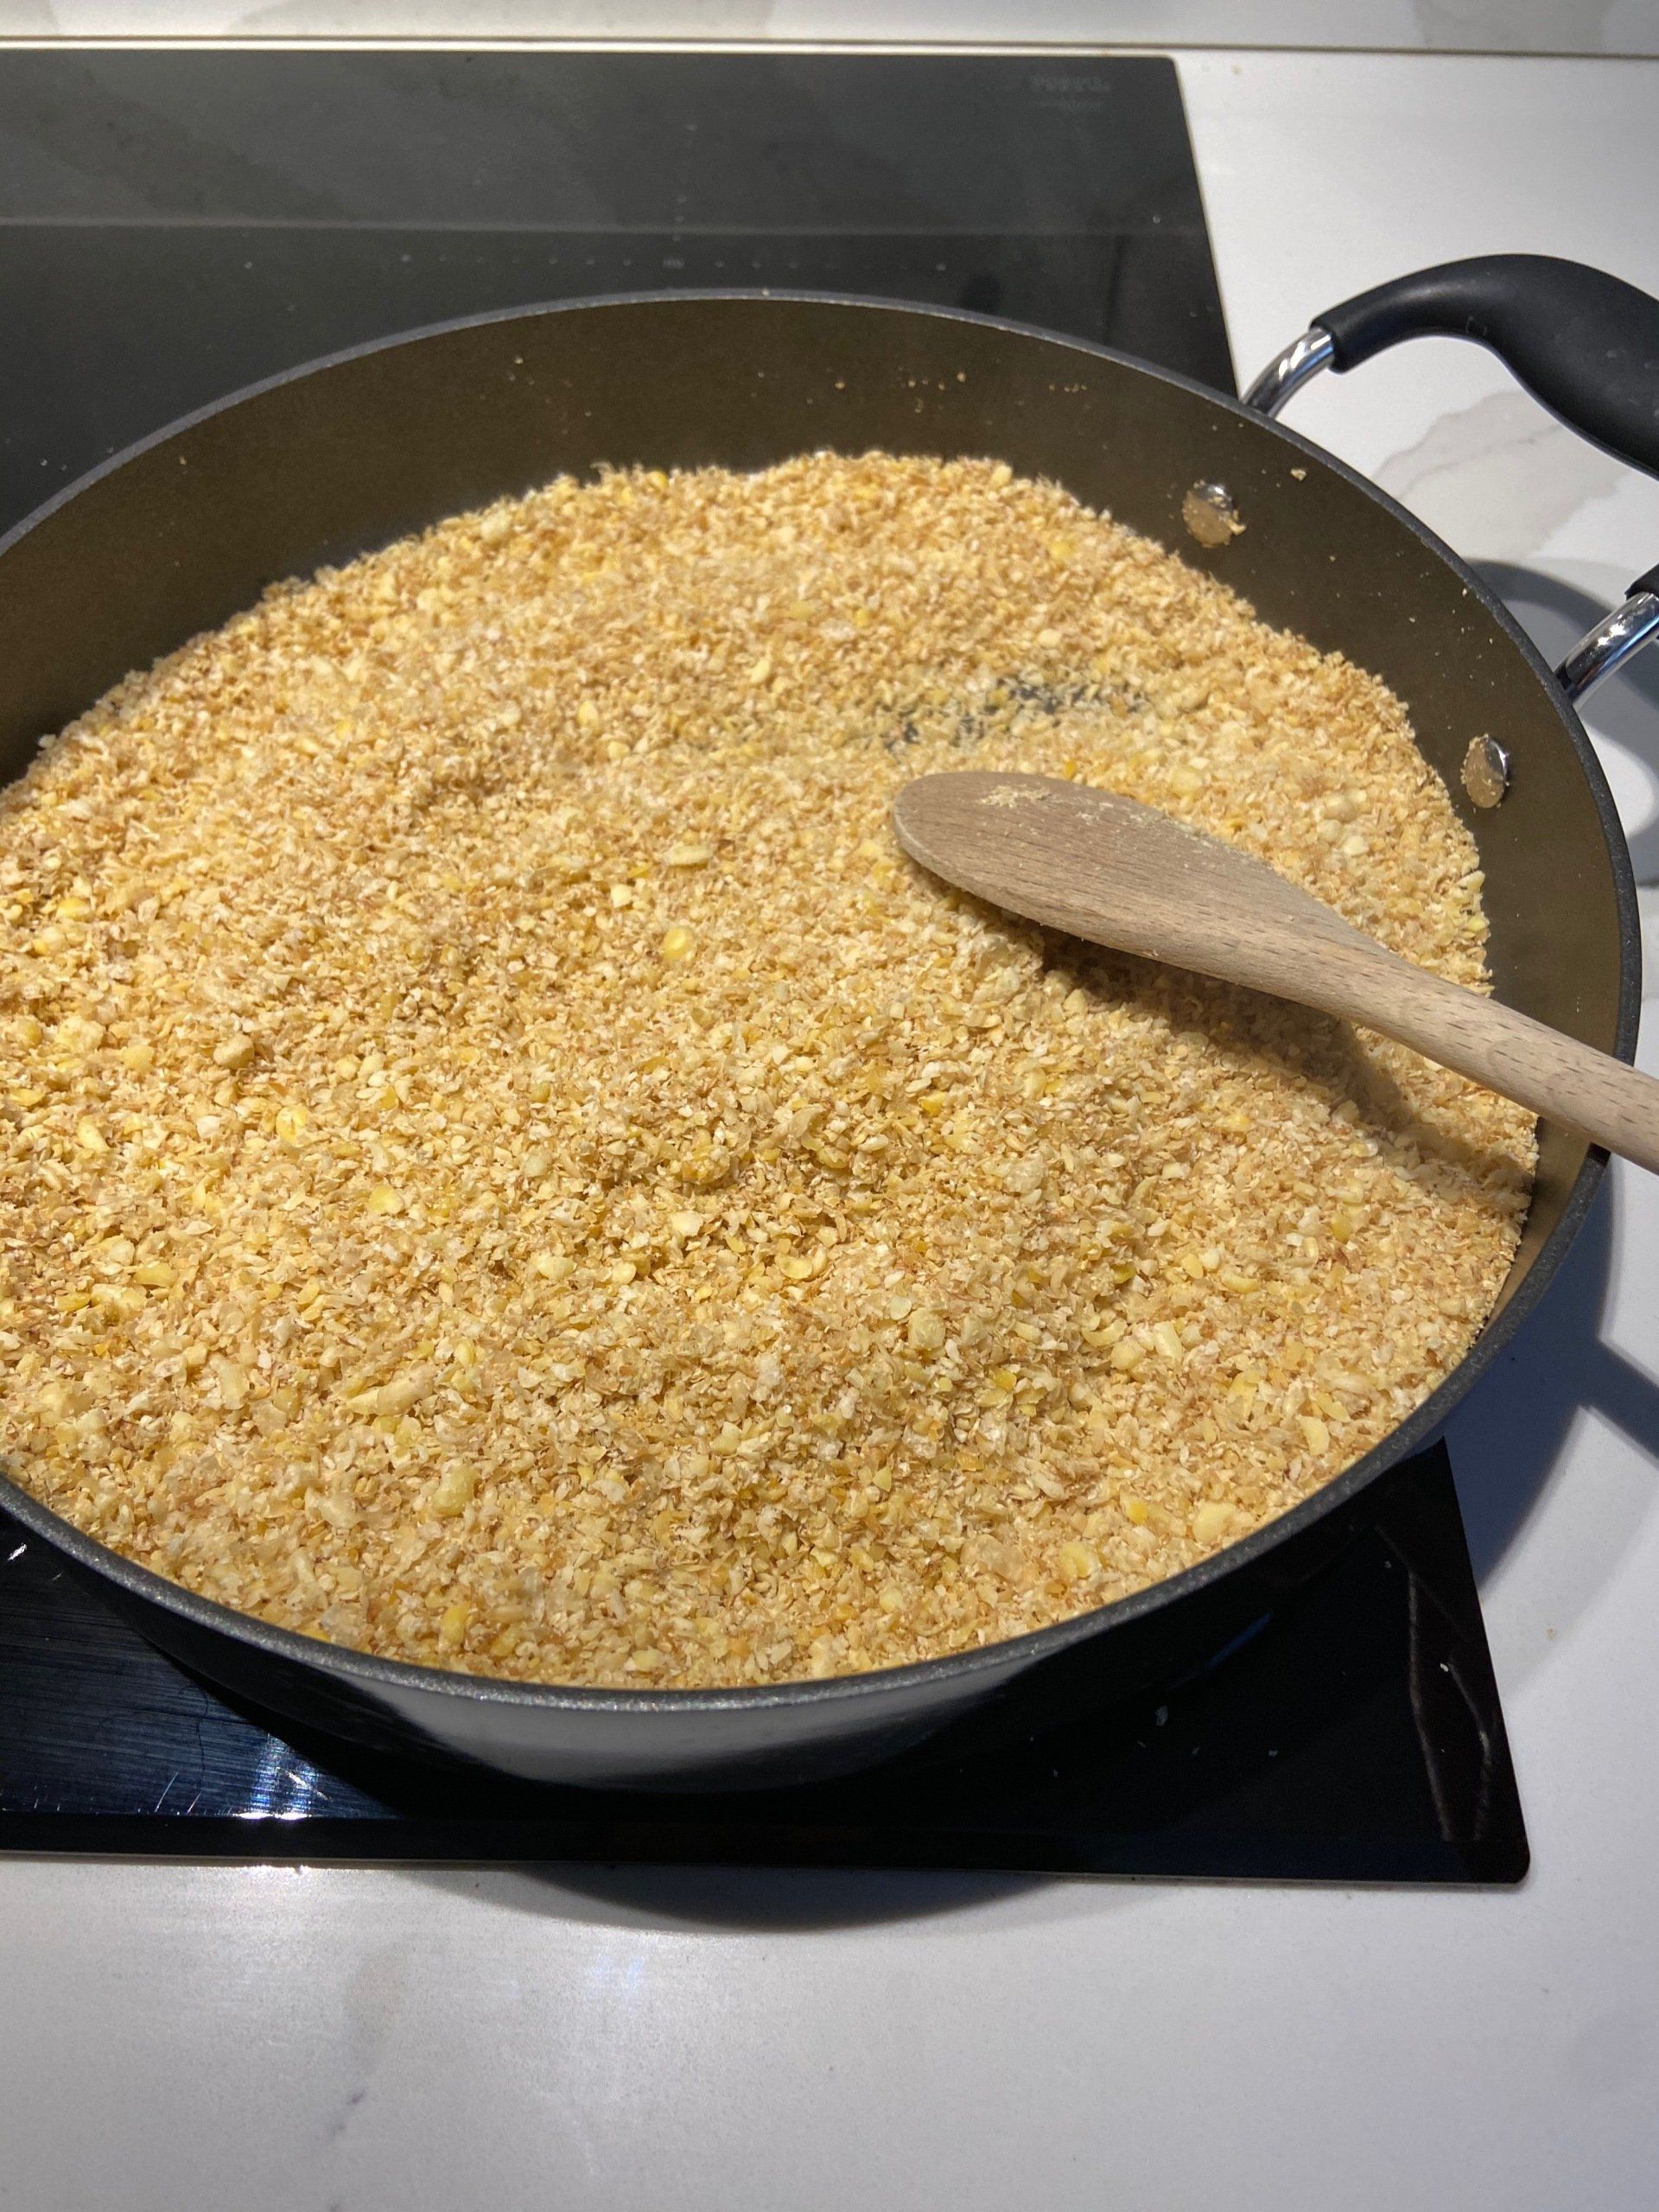
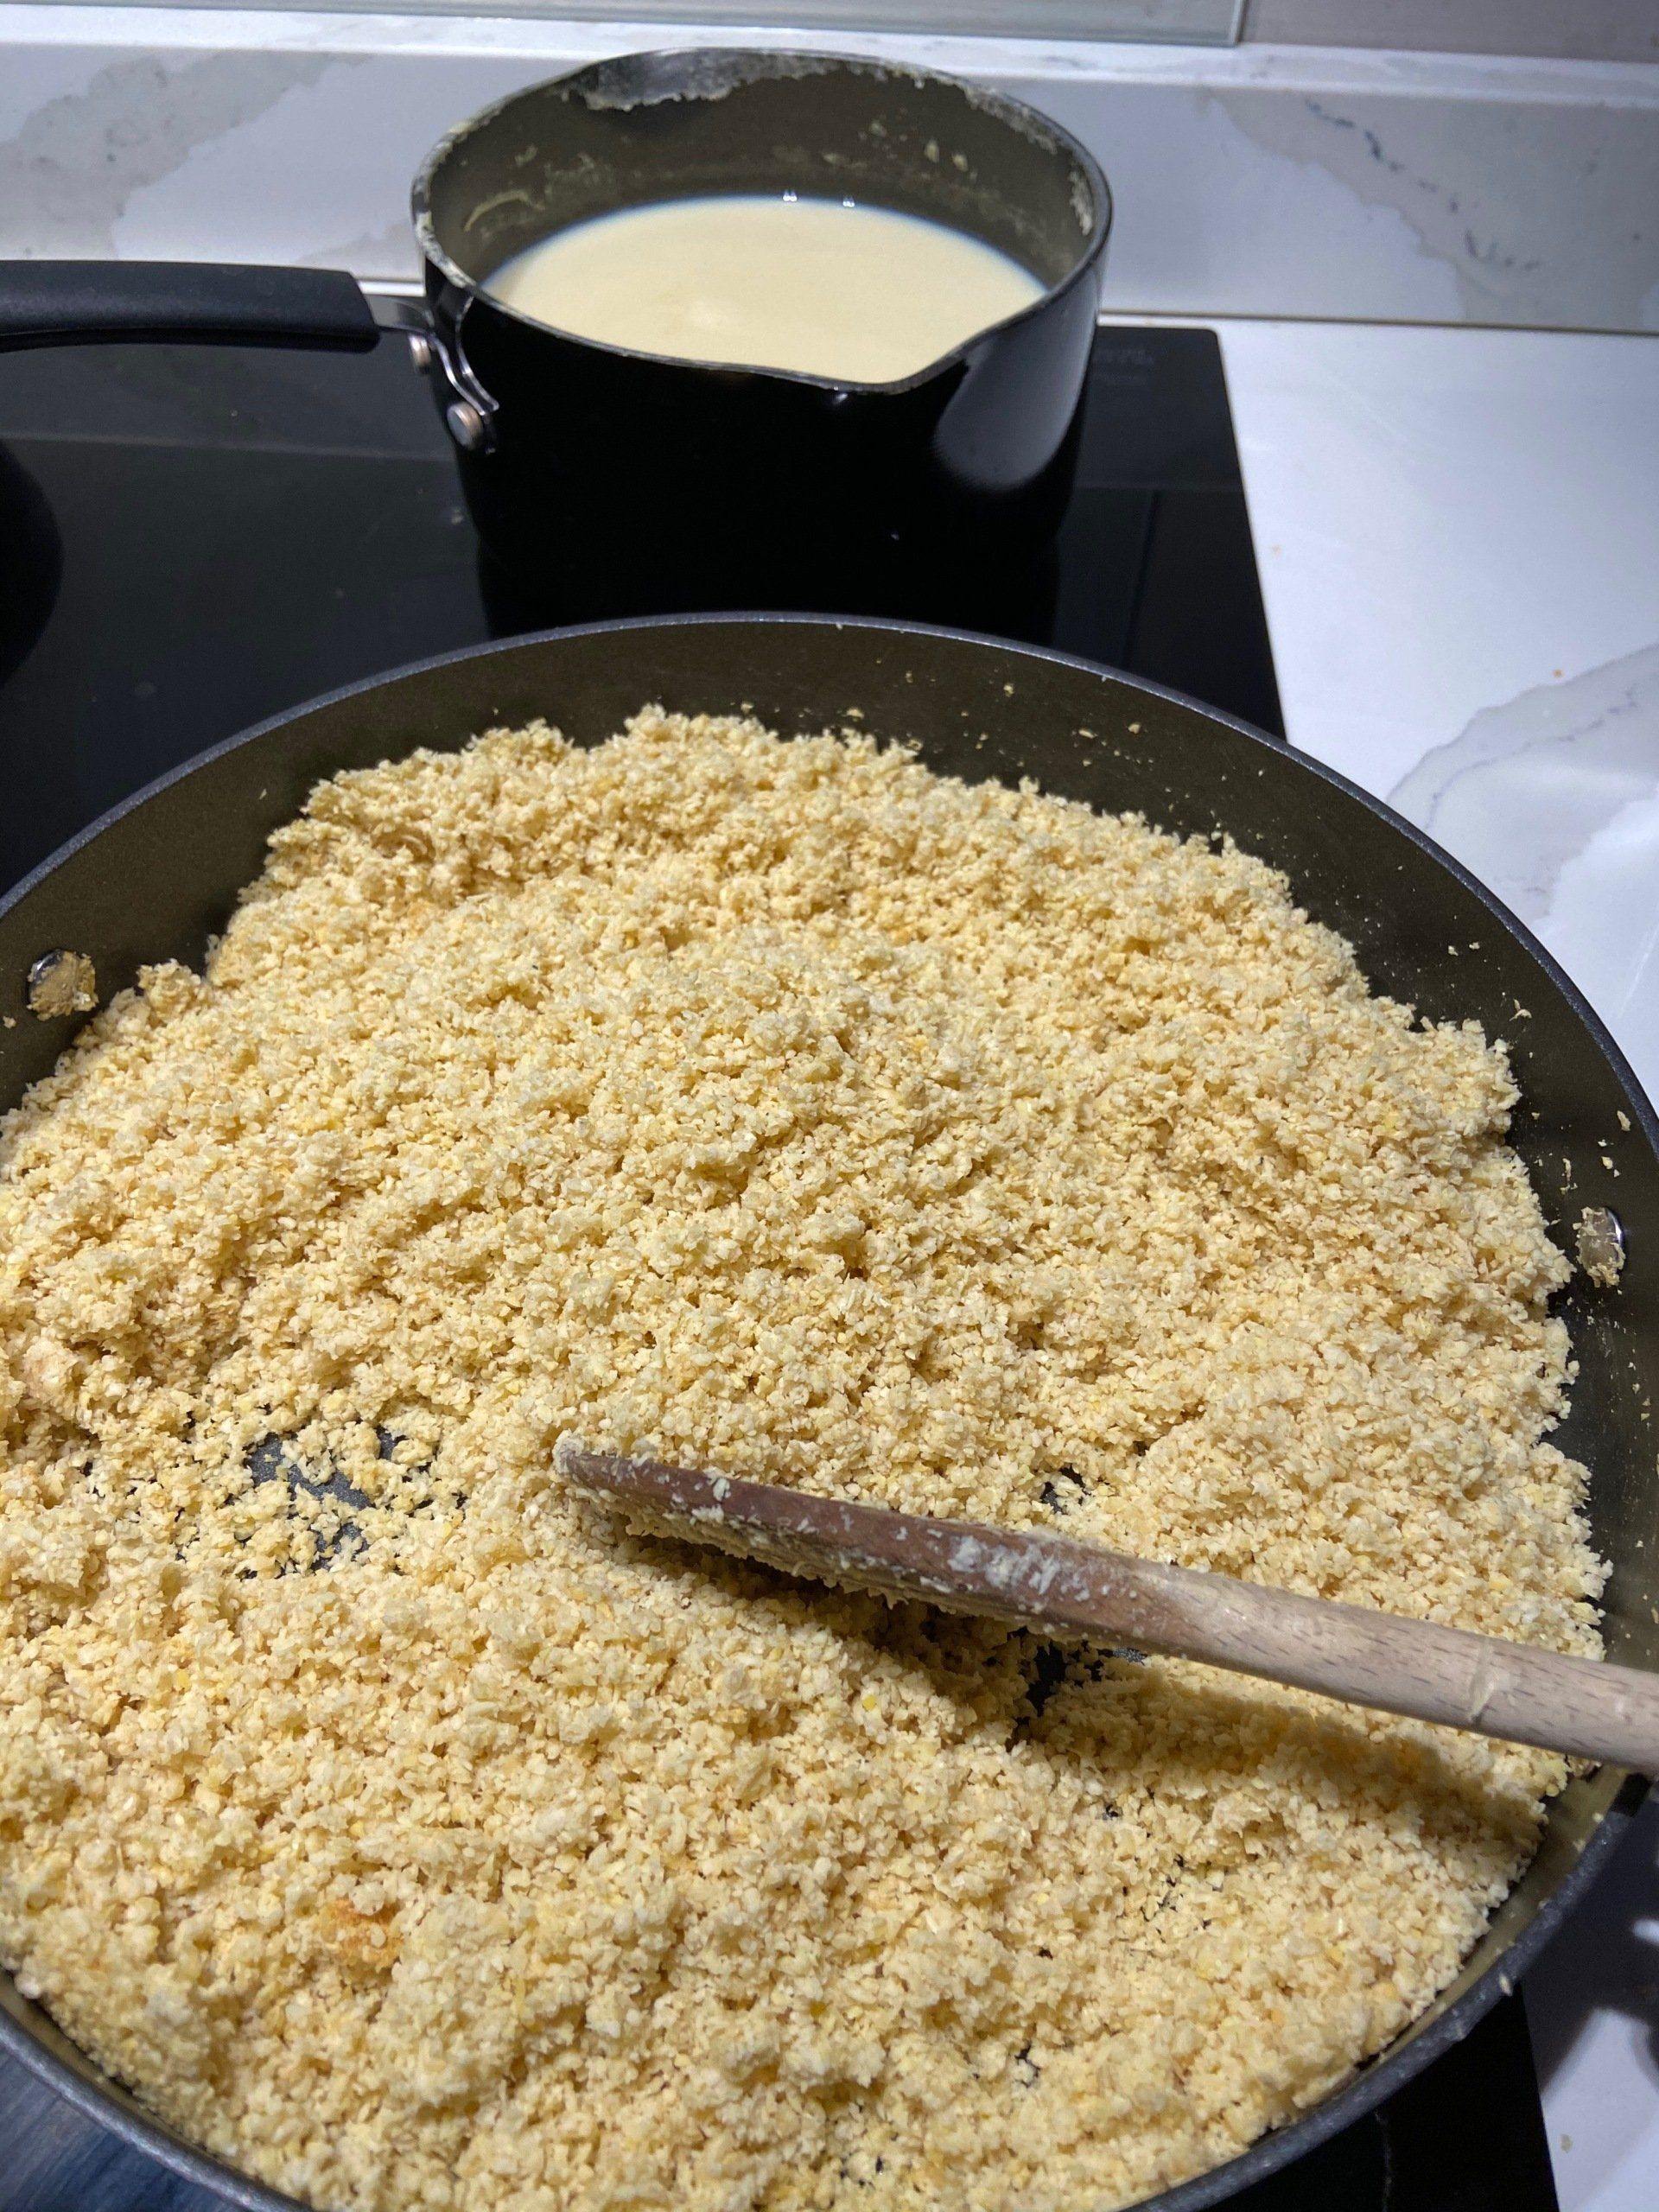
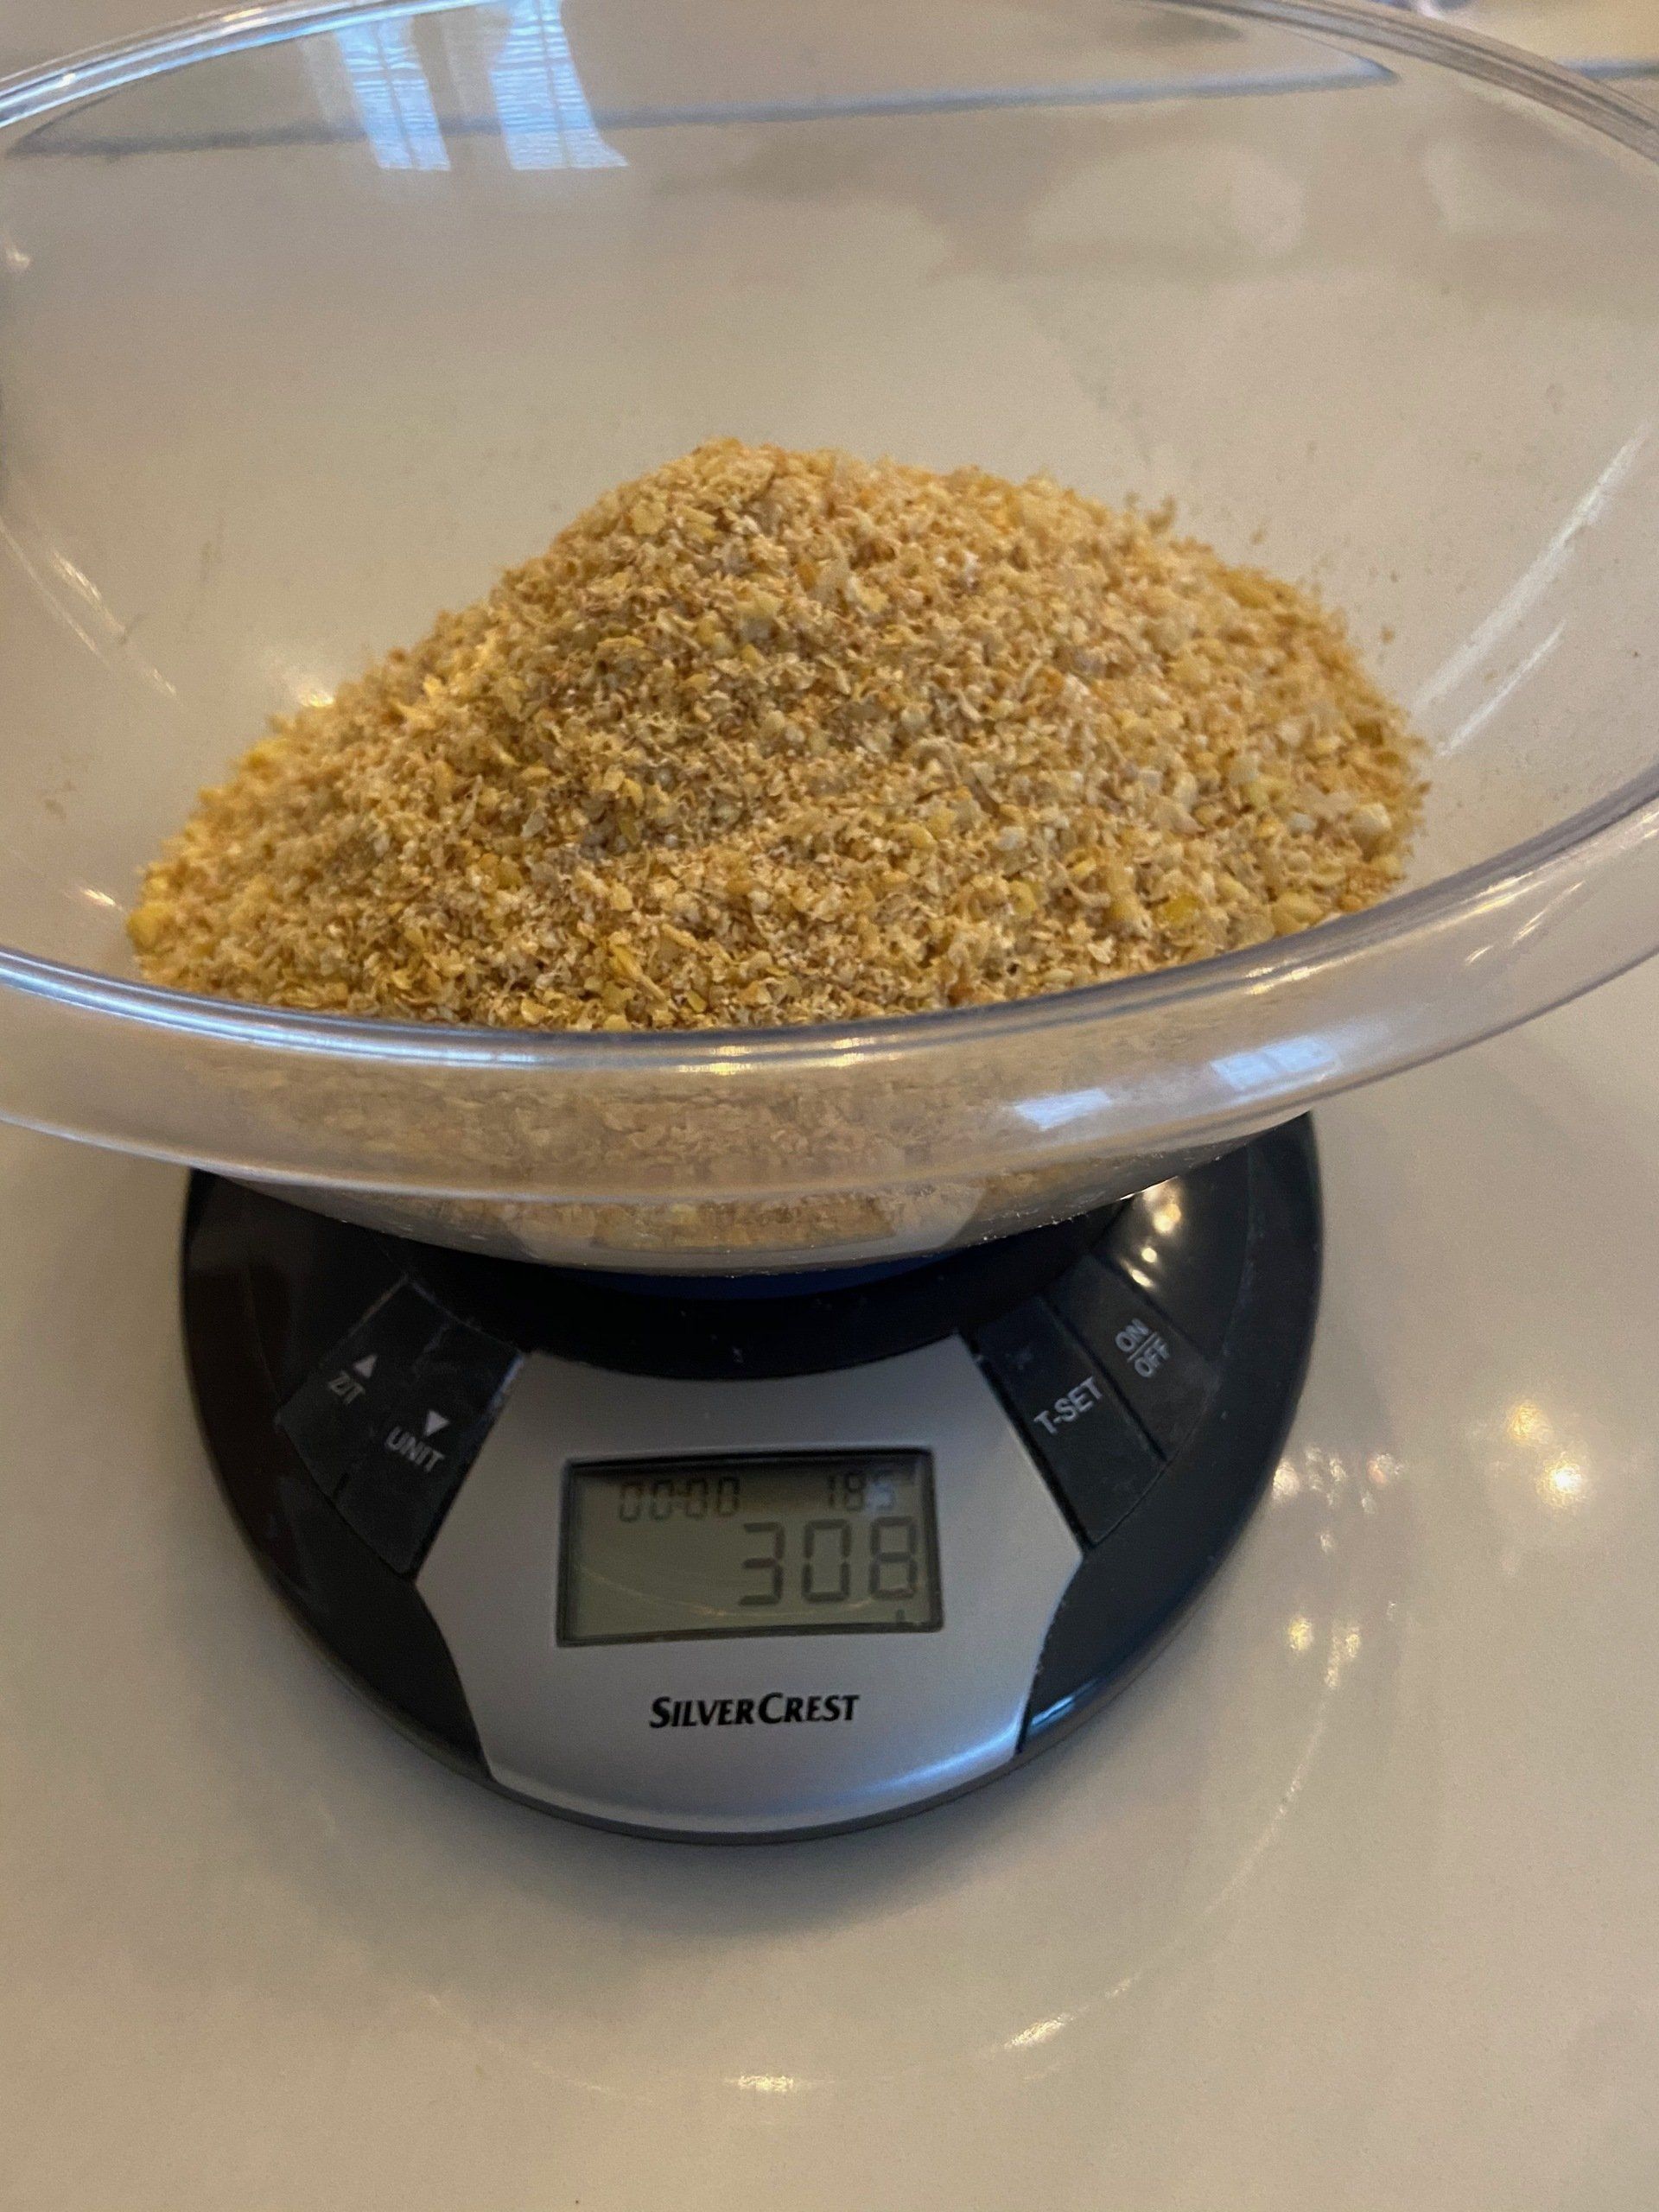
After 20 minutes the water from the okara should have evaporated. When you are confident that the moisture has disappeared, switch off the hob and leave the okara to cool for around 10 minutes. The picture above is how the dried okara should look
Once the okara is cooled, transfer to a clean bowl ready for inoculation
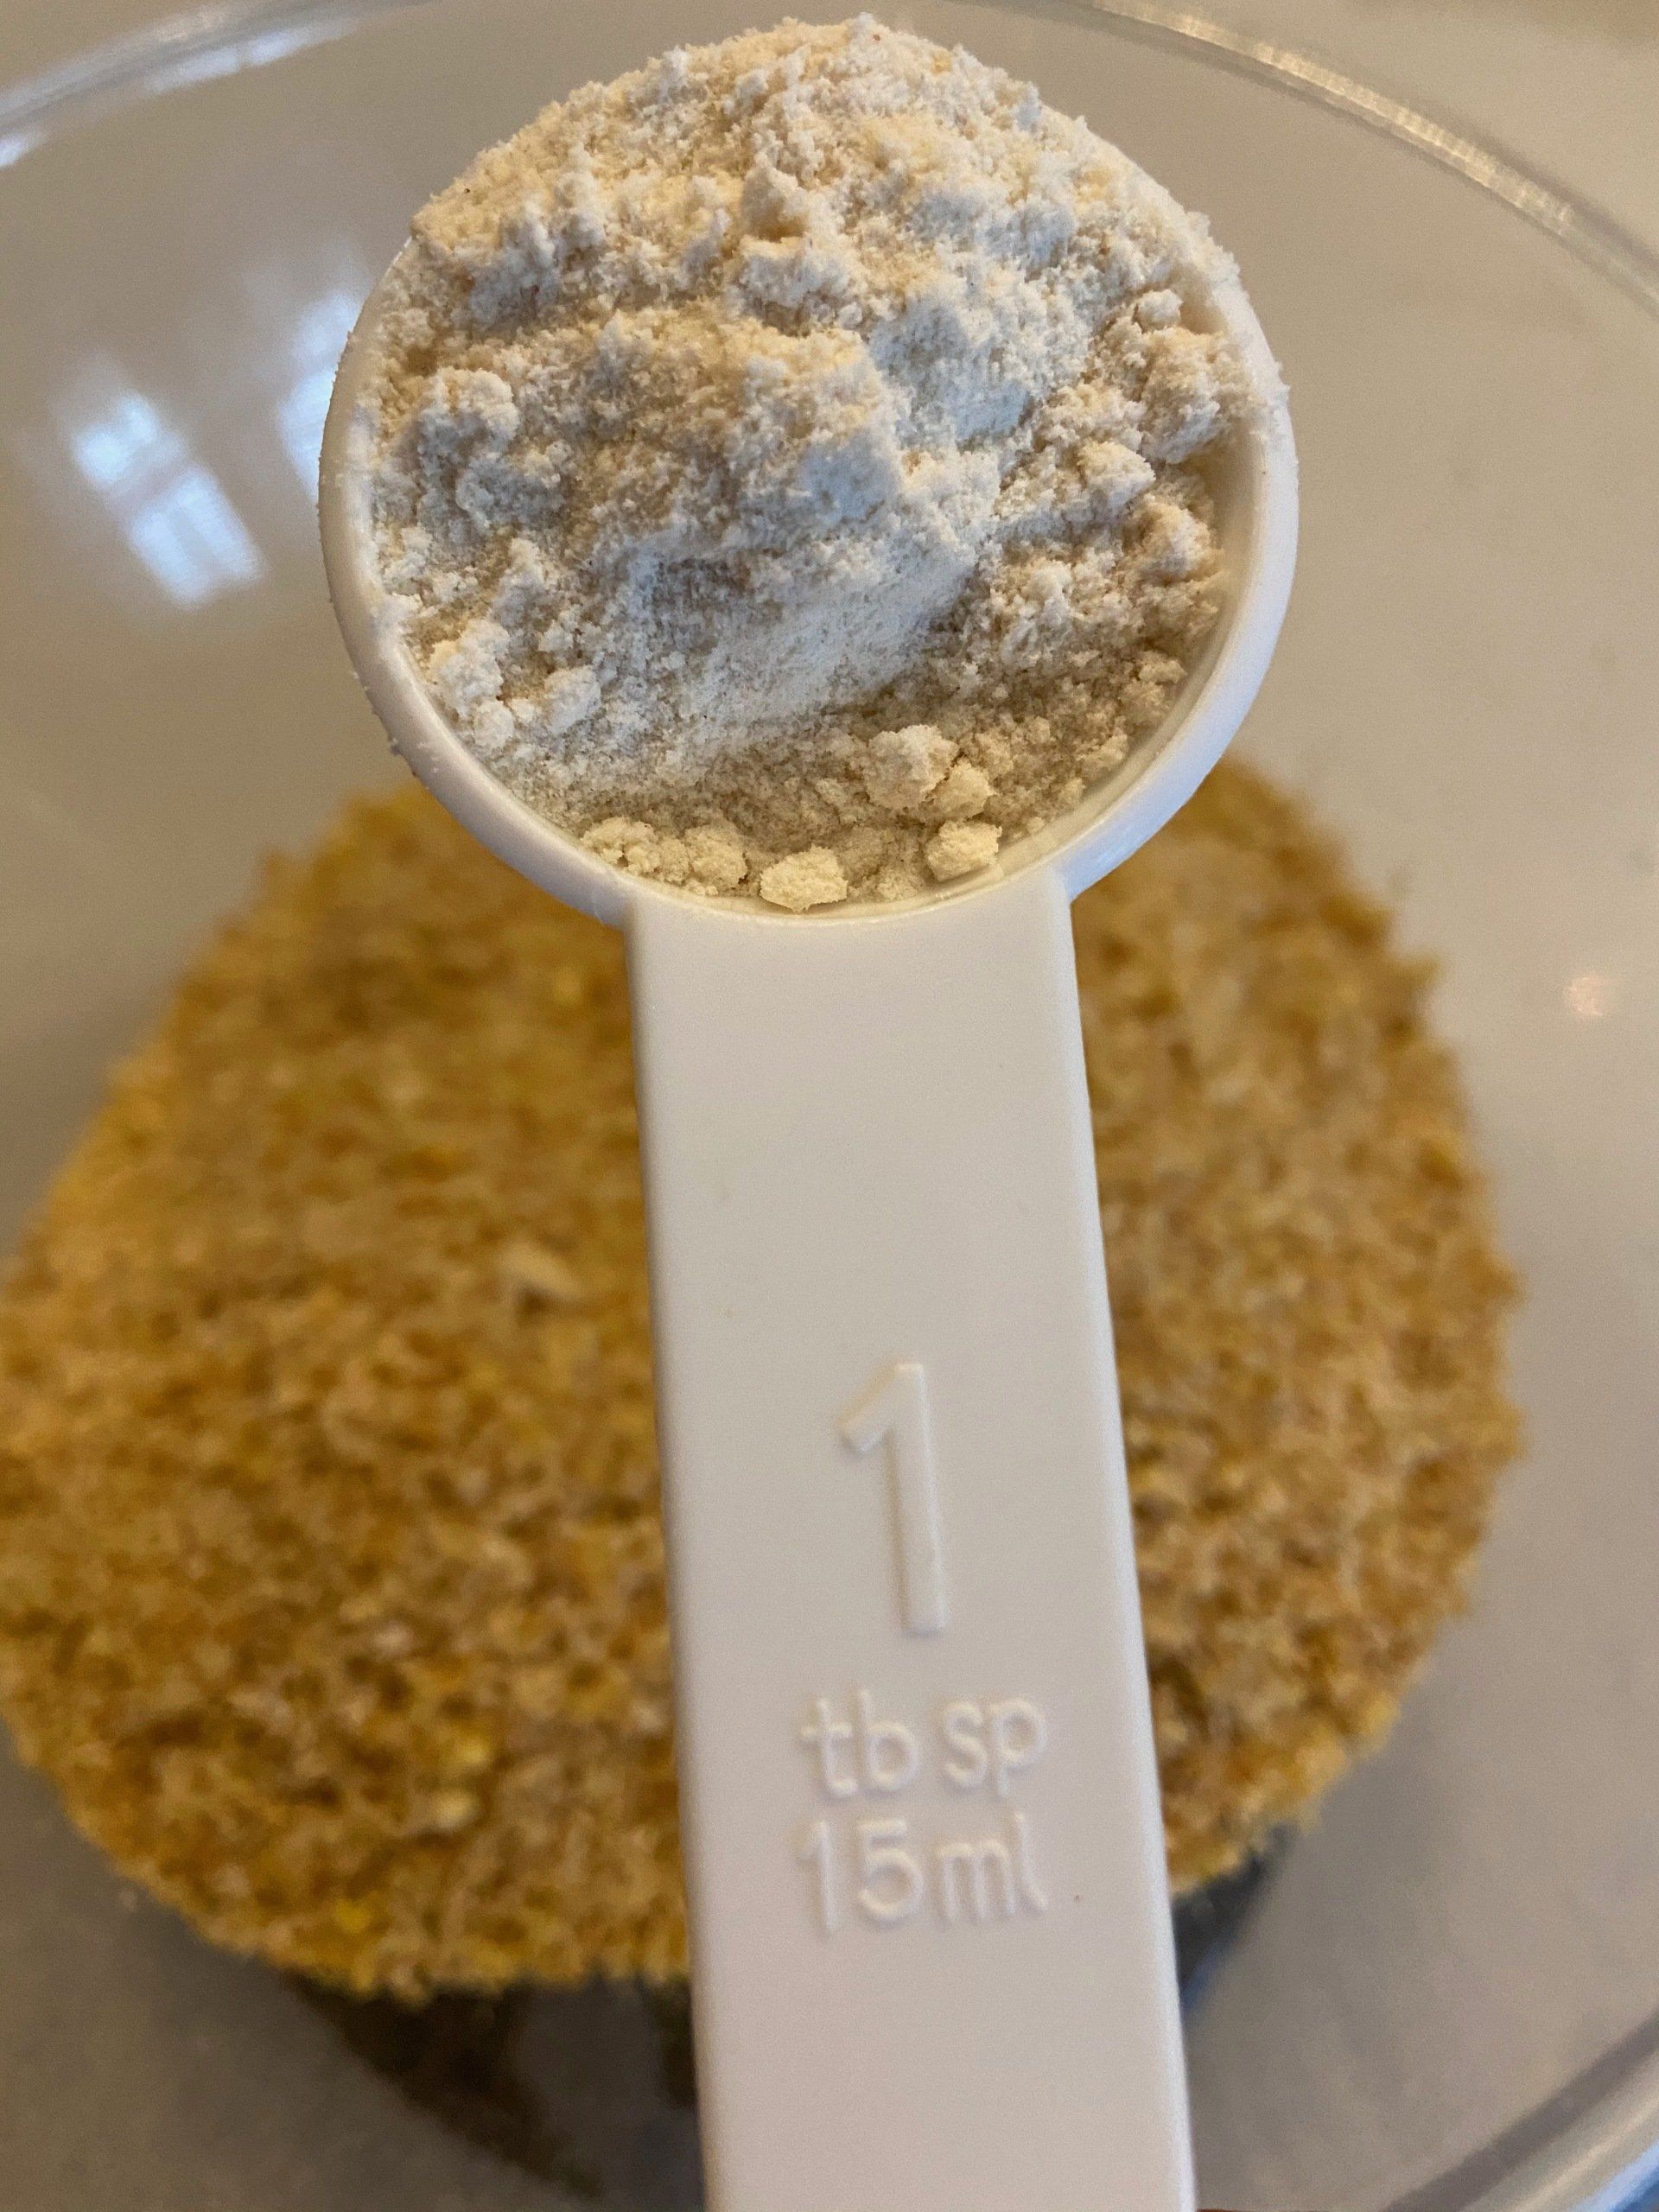
Add the rice flour and the tempeh starter. In this tutorial we use a little more starter than usual as the starter seems to stick to the okara and didn't distribute well. Mixing the starter with the rice flour will reduce this problem. Also the purpose of rice flour is to remove excess moisture that might still exist in the beans and to enhance the fermentation.
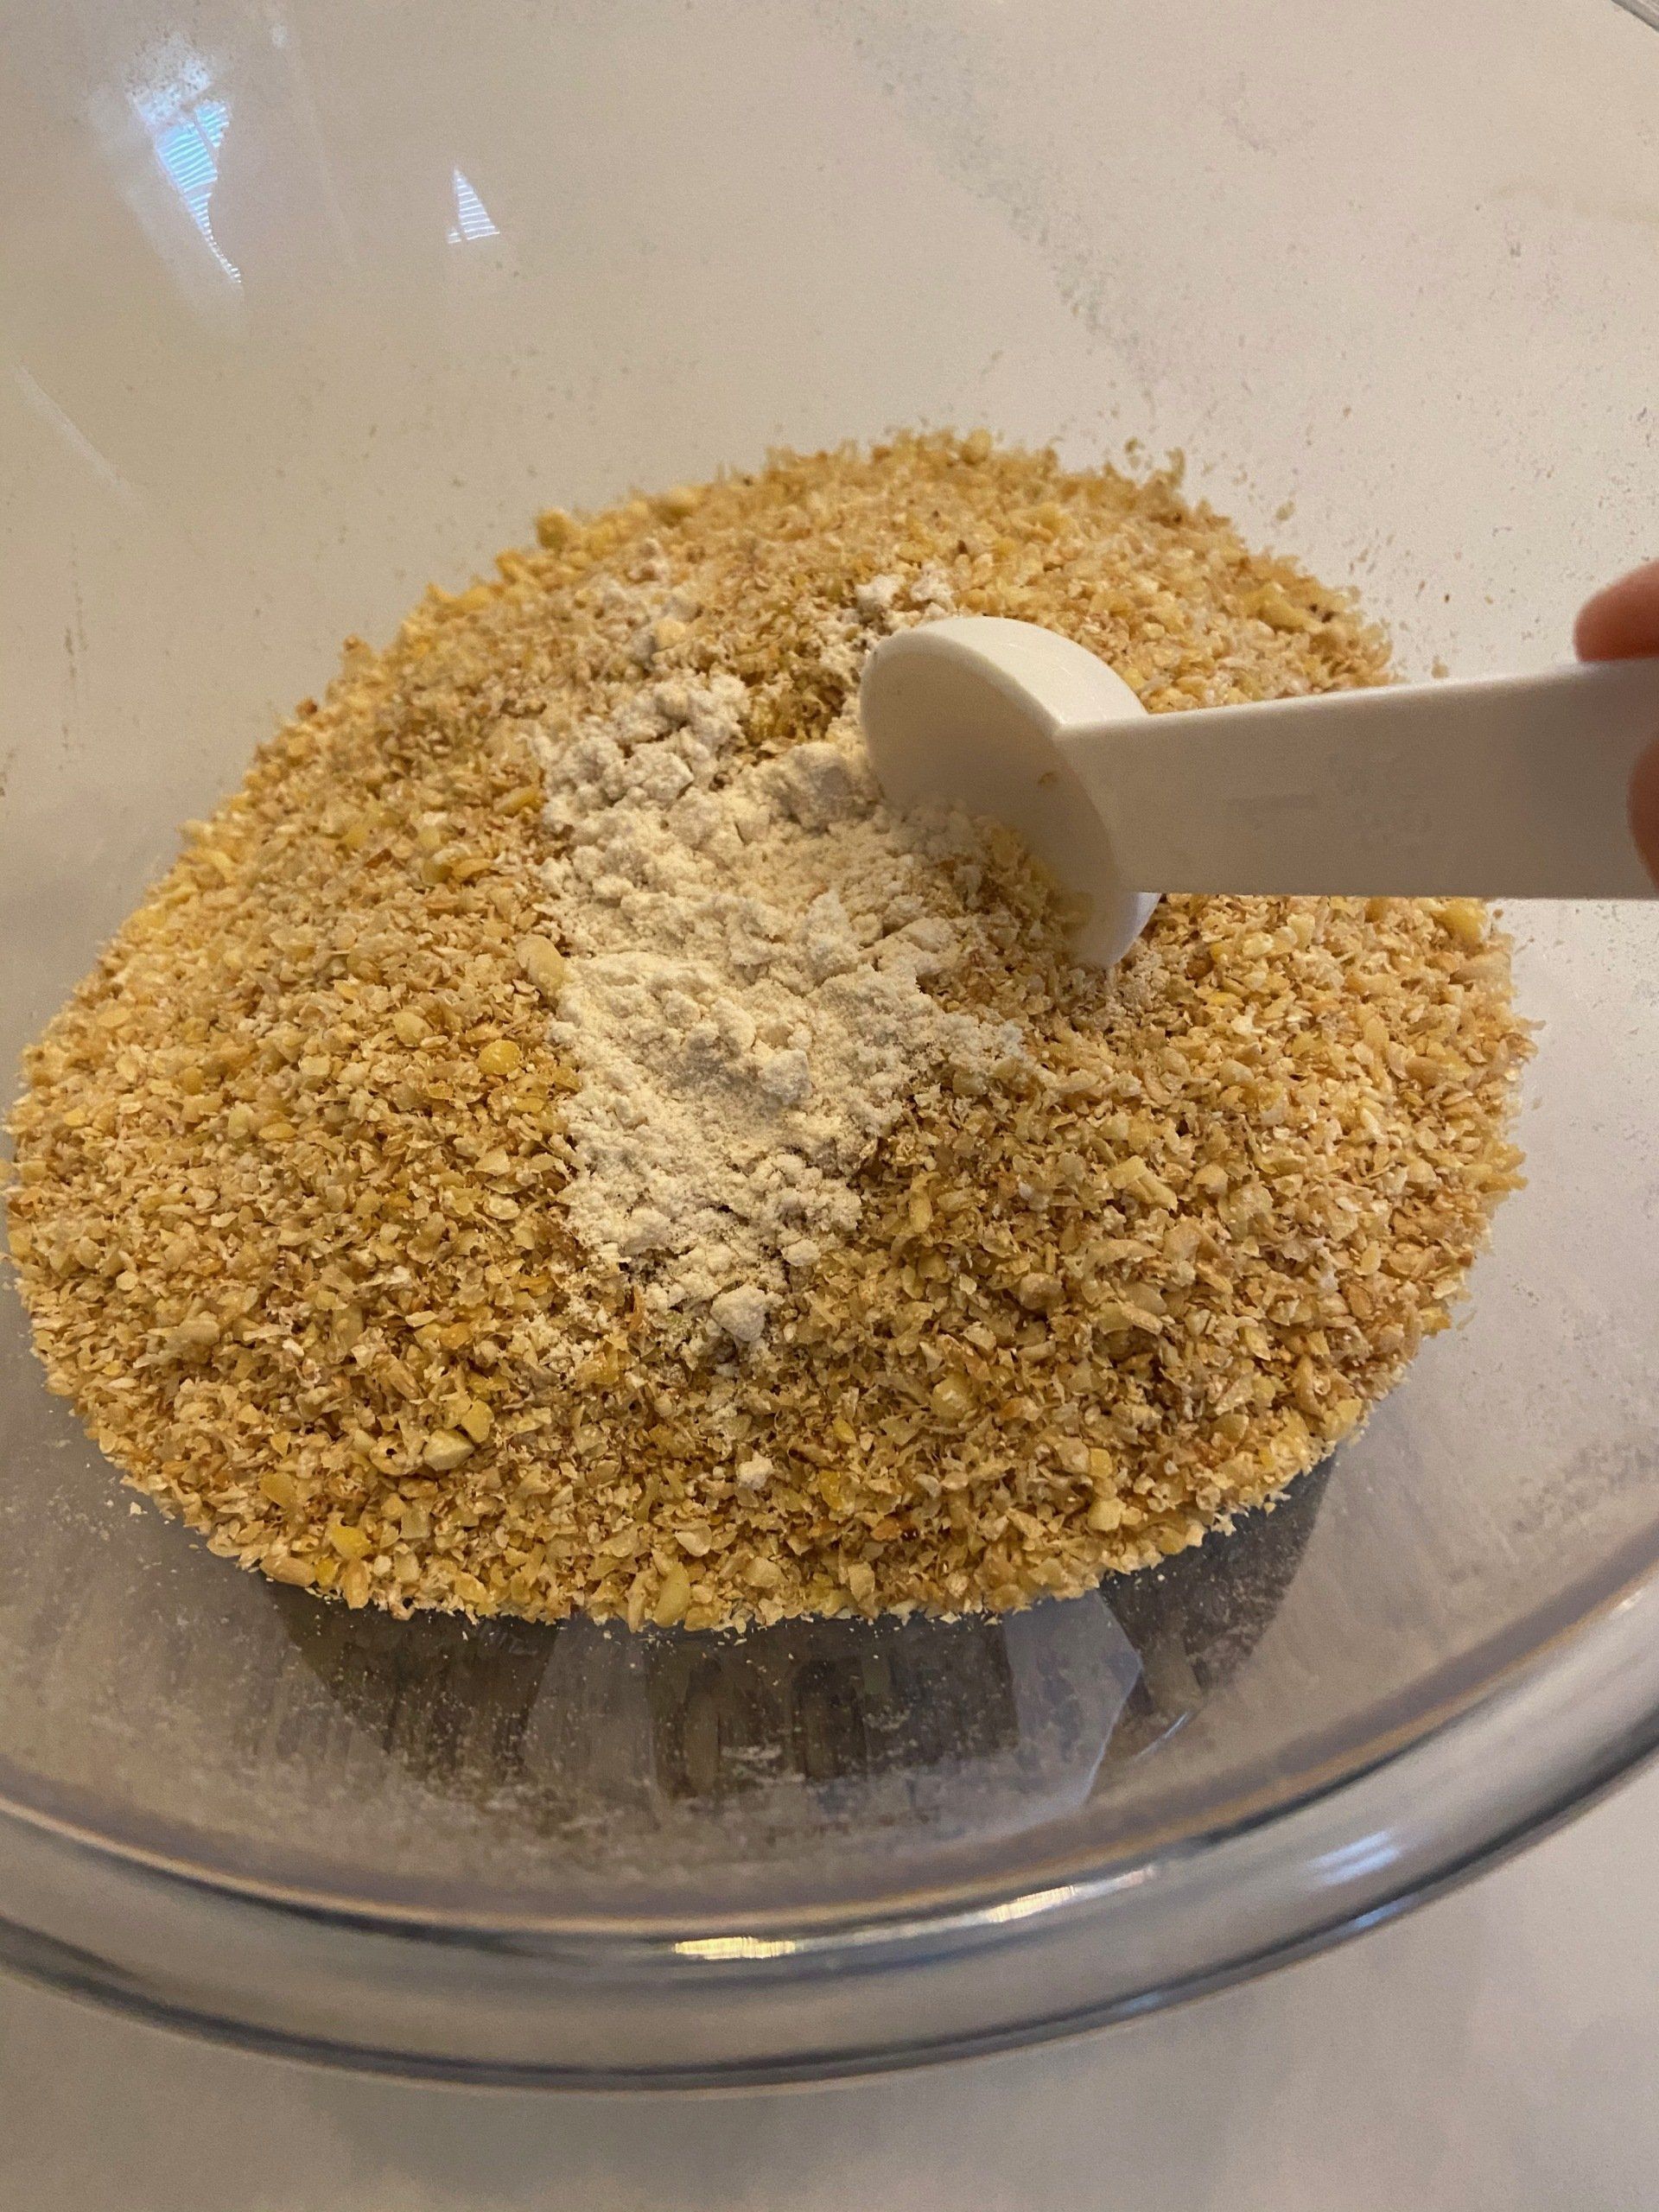
Mix the rice flour and the starter thoroughly. To ensure that they are fully mixed, stir them continuously for 2 minutes. If you don't mix the starter thoroughly, the tempeh could end up patchy and crumbly.
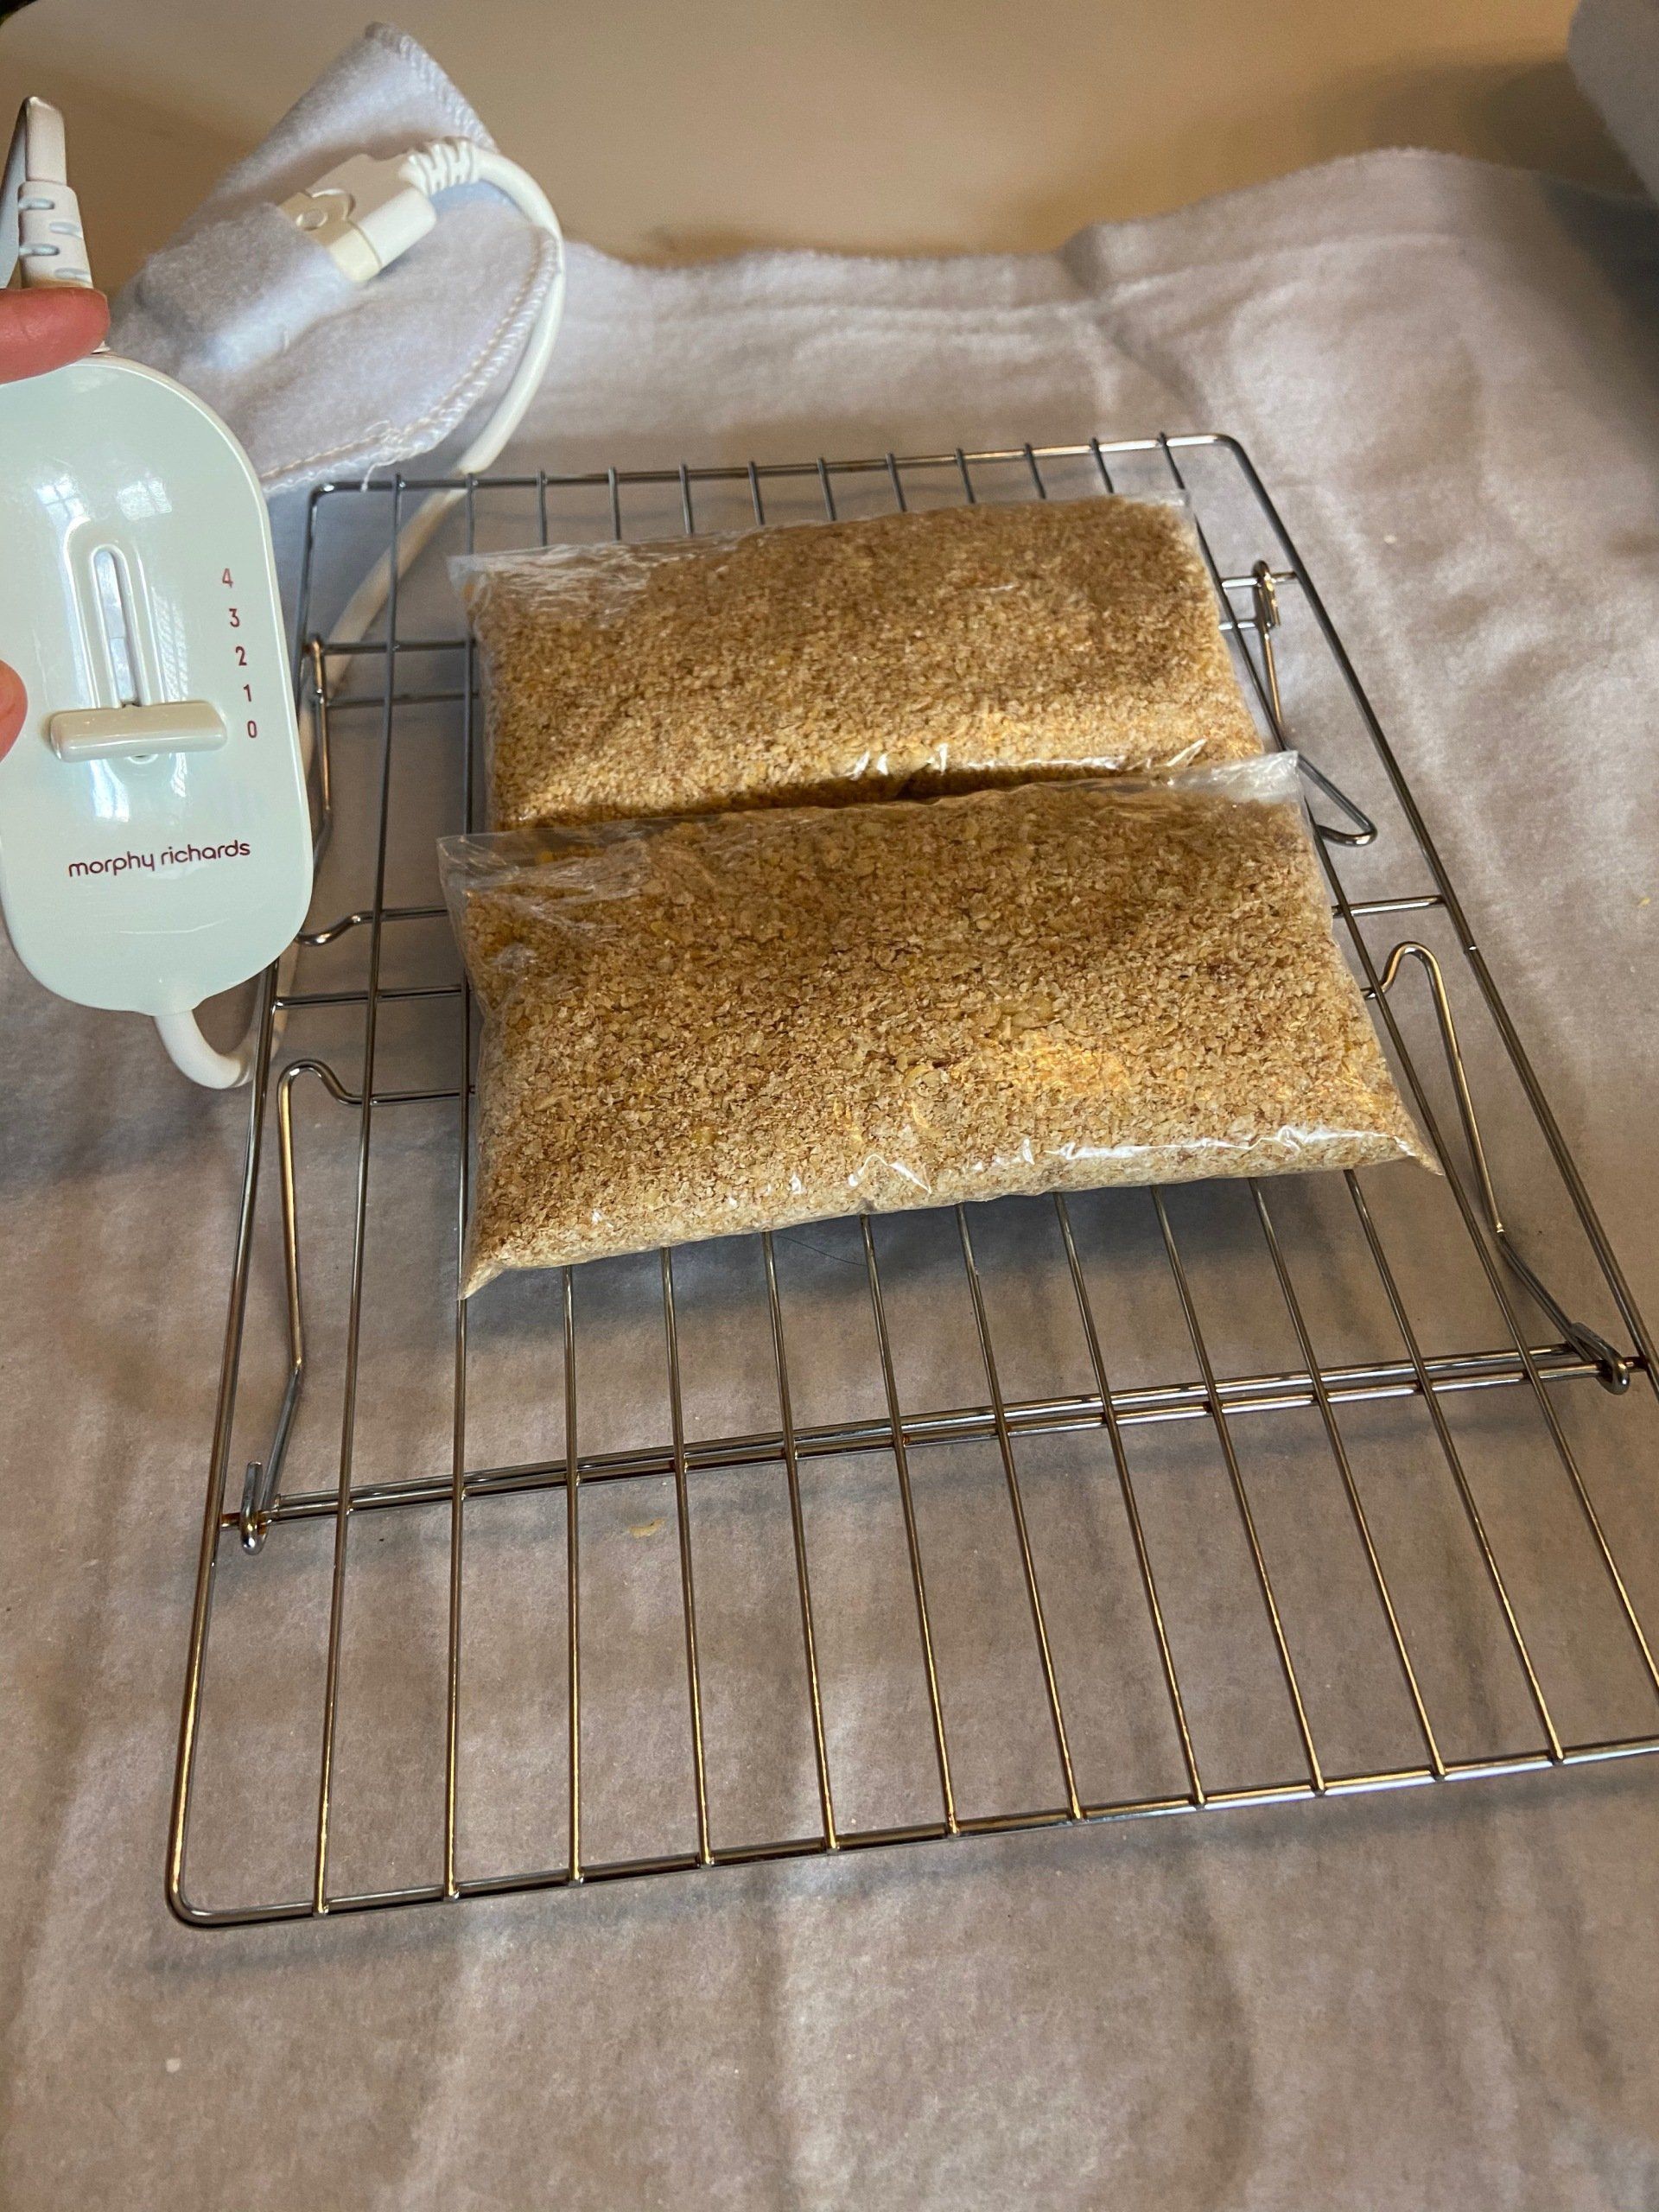
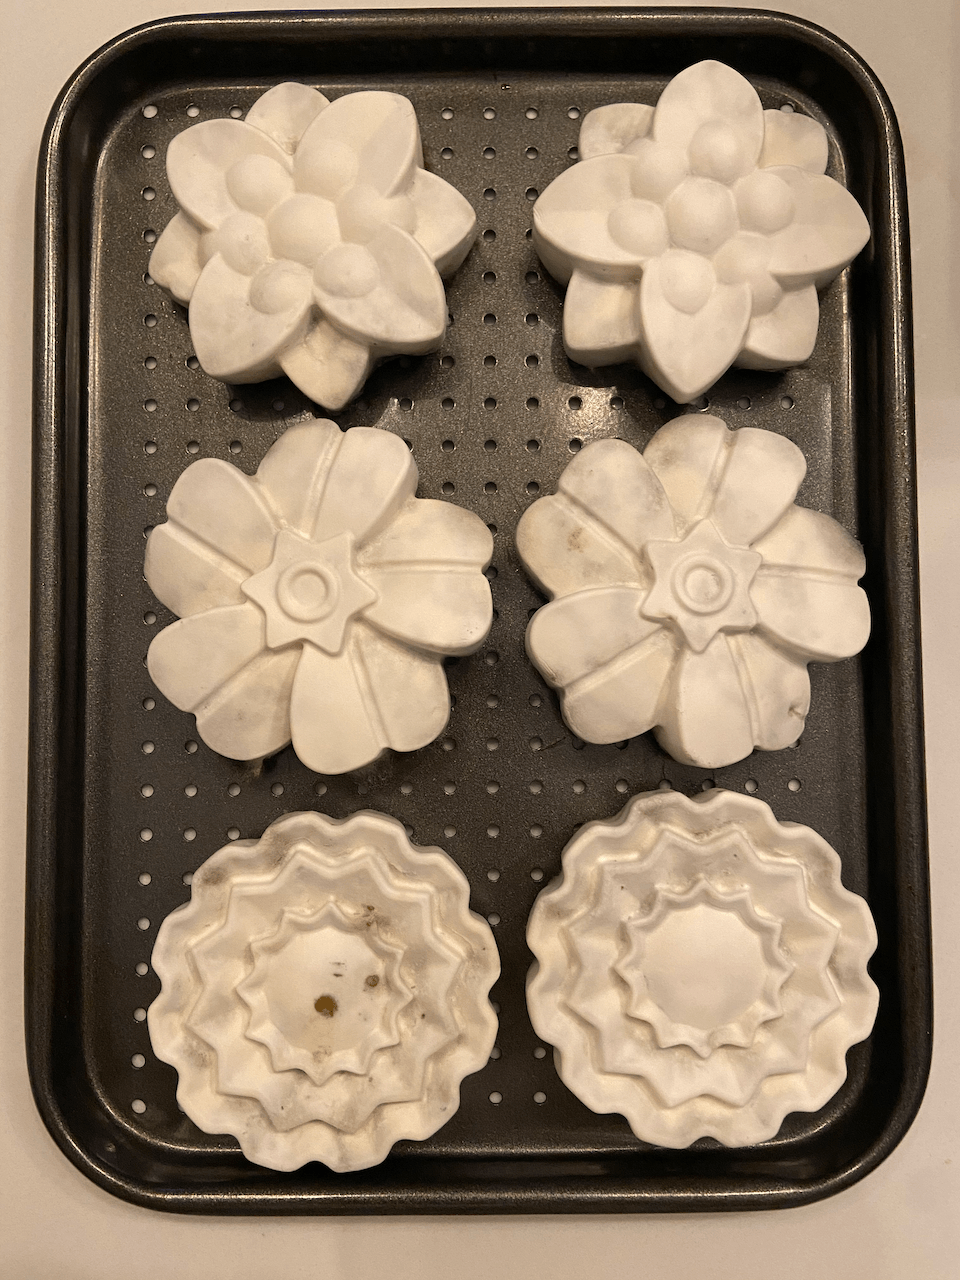
Transfer the okara to the food safe plastic bags and pierce the bags with a clean satay stick or a large needle. Place the bags on an airy tray - see above for an example. This is important for air circulation.
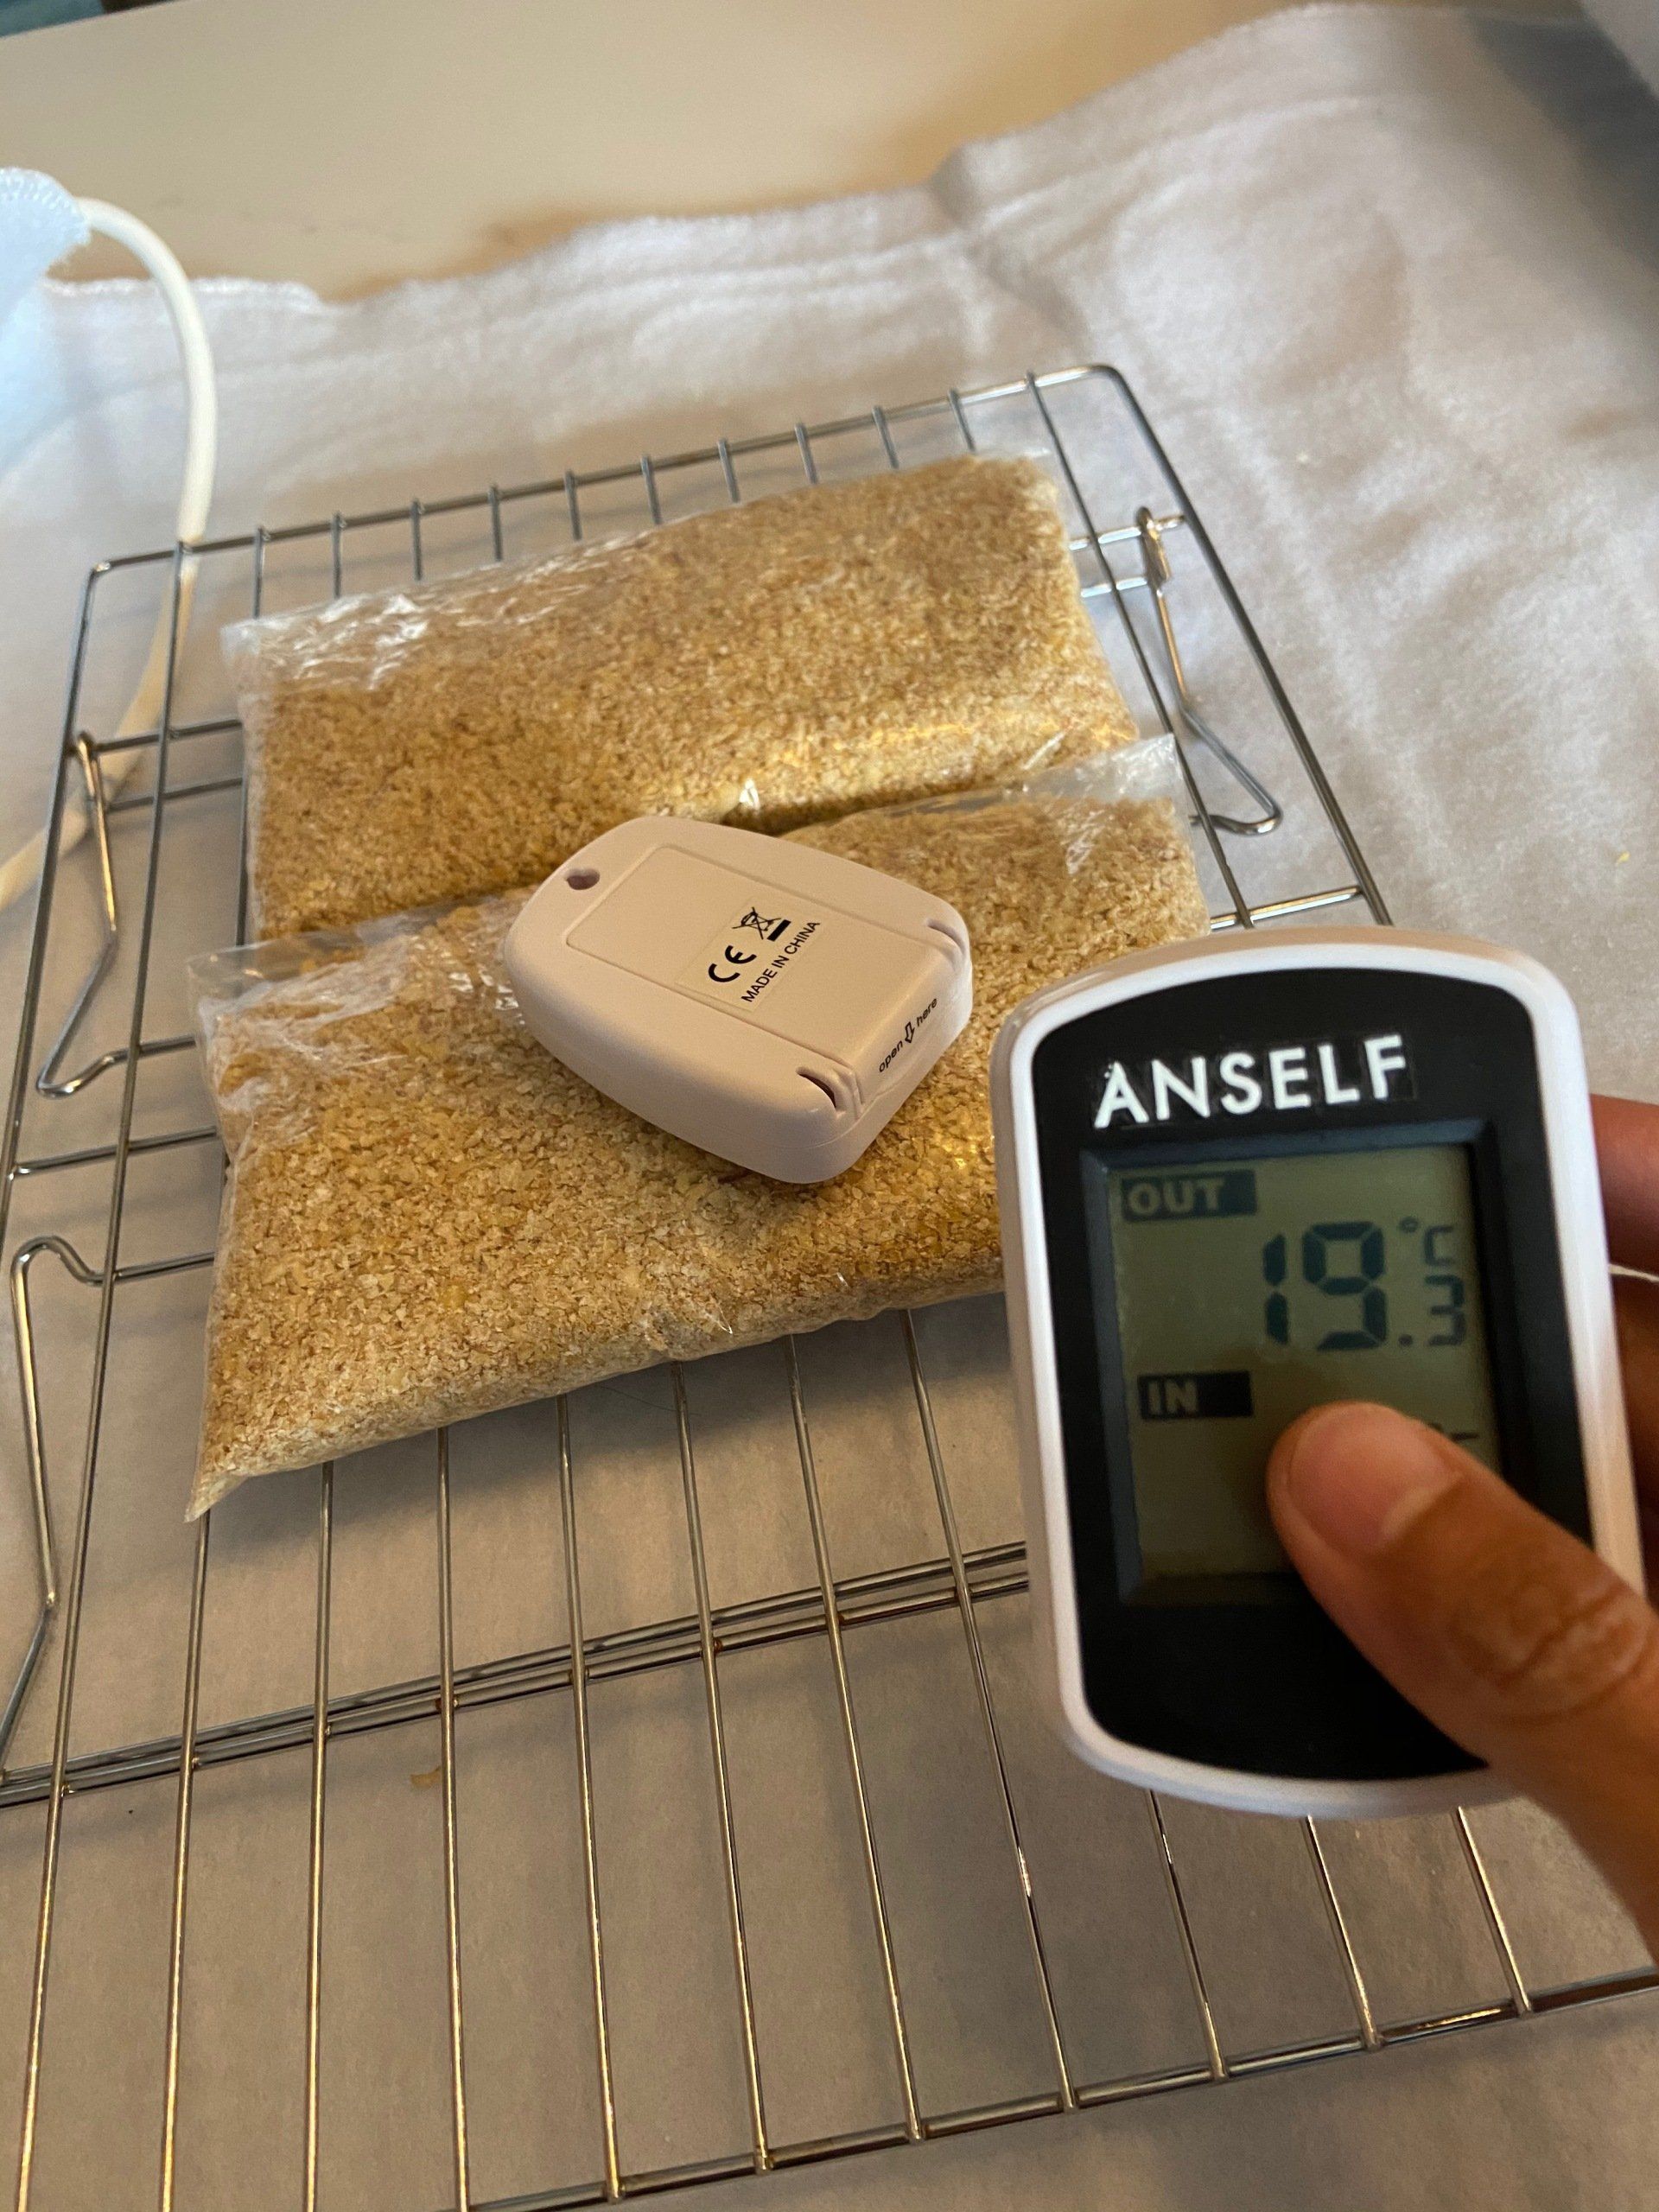
As you can see my room temperature was 19C, which is too cold for fermentation. I therefore put them inside an incubator, in this case an electric blanket. I switched on the heater at medium heat and covered the tempeh with tea towels. I started incubating the okara on Tuesday at 7pm.

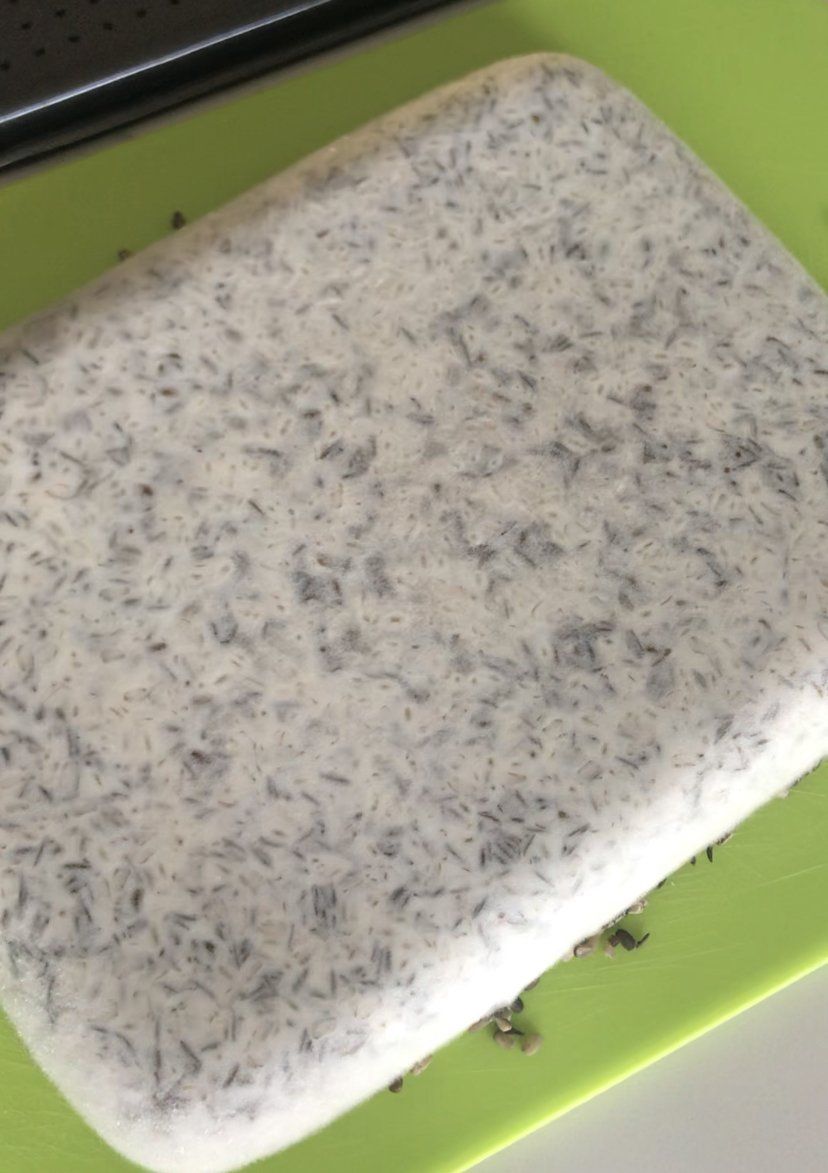
On Wednesday at 6pm the temperature on top of the tempeh batch is around 30C. This is a good sign as it means that the spores are growing. There is also a little condensation inside the bag. Switch off the heater immediately and leave the batch inside the tea towels.
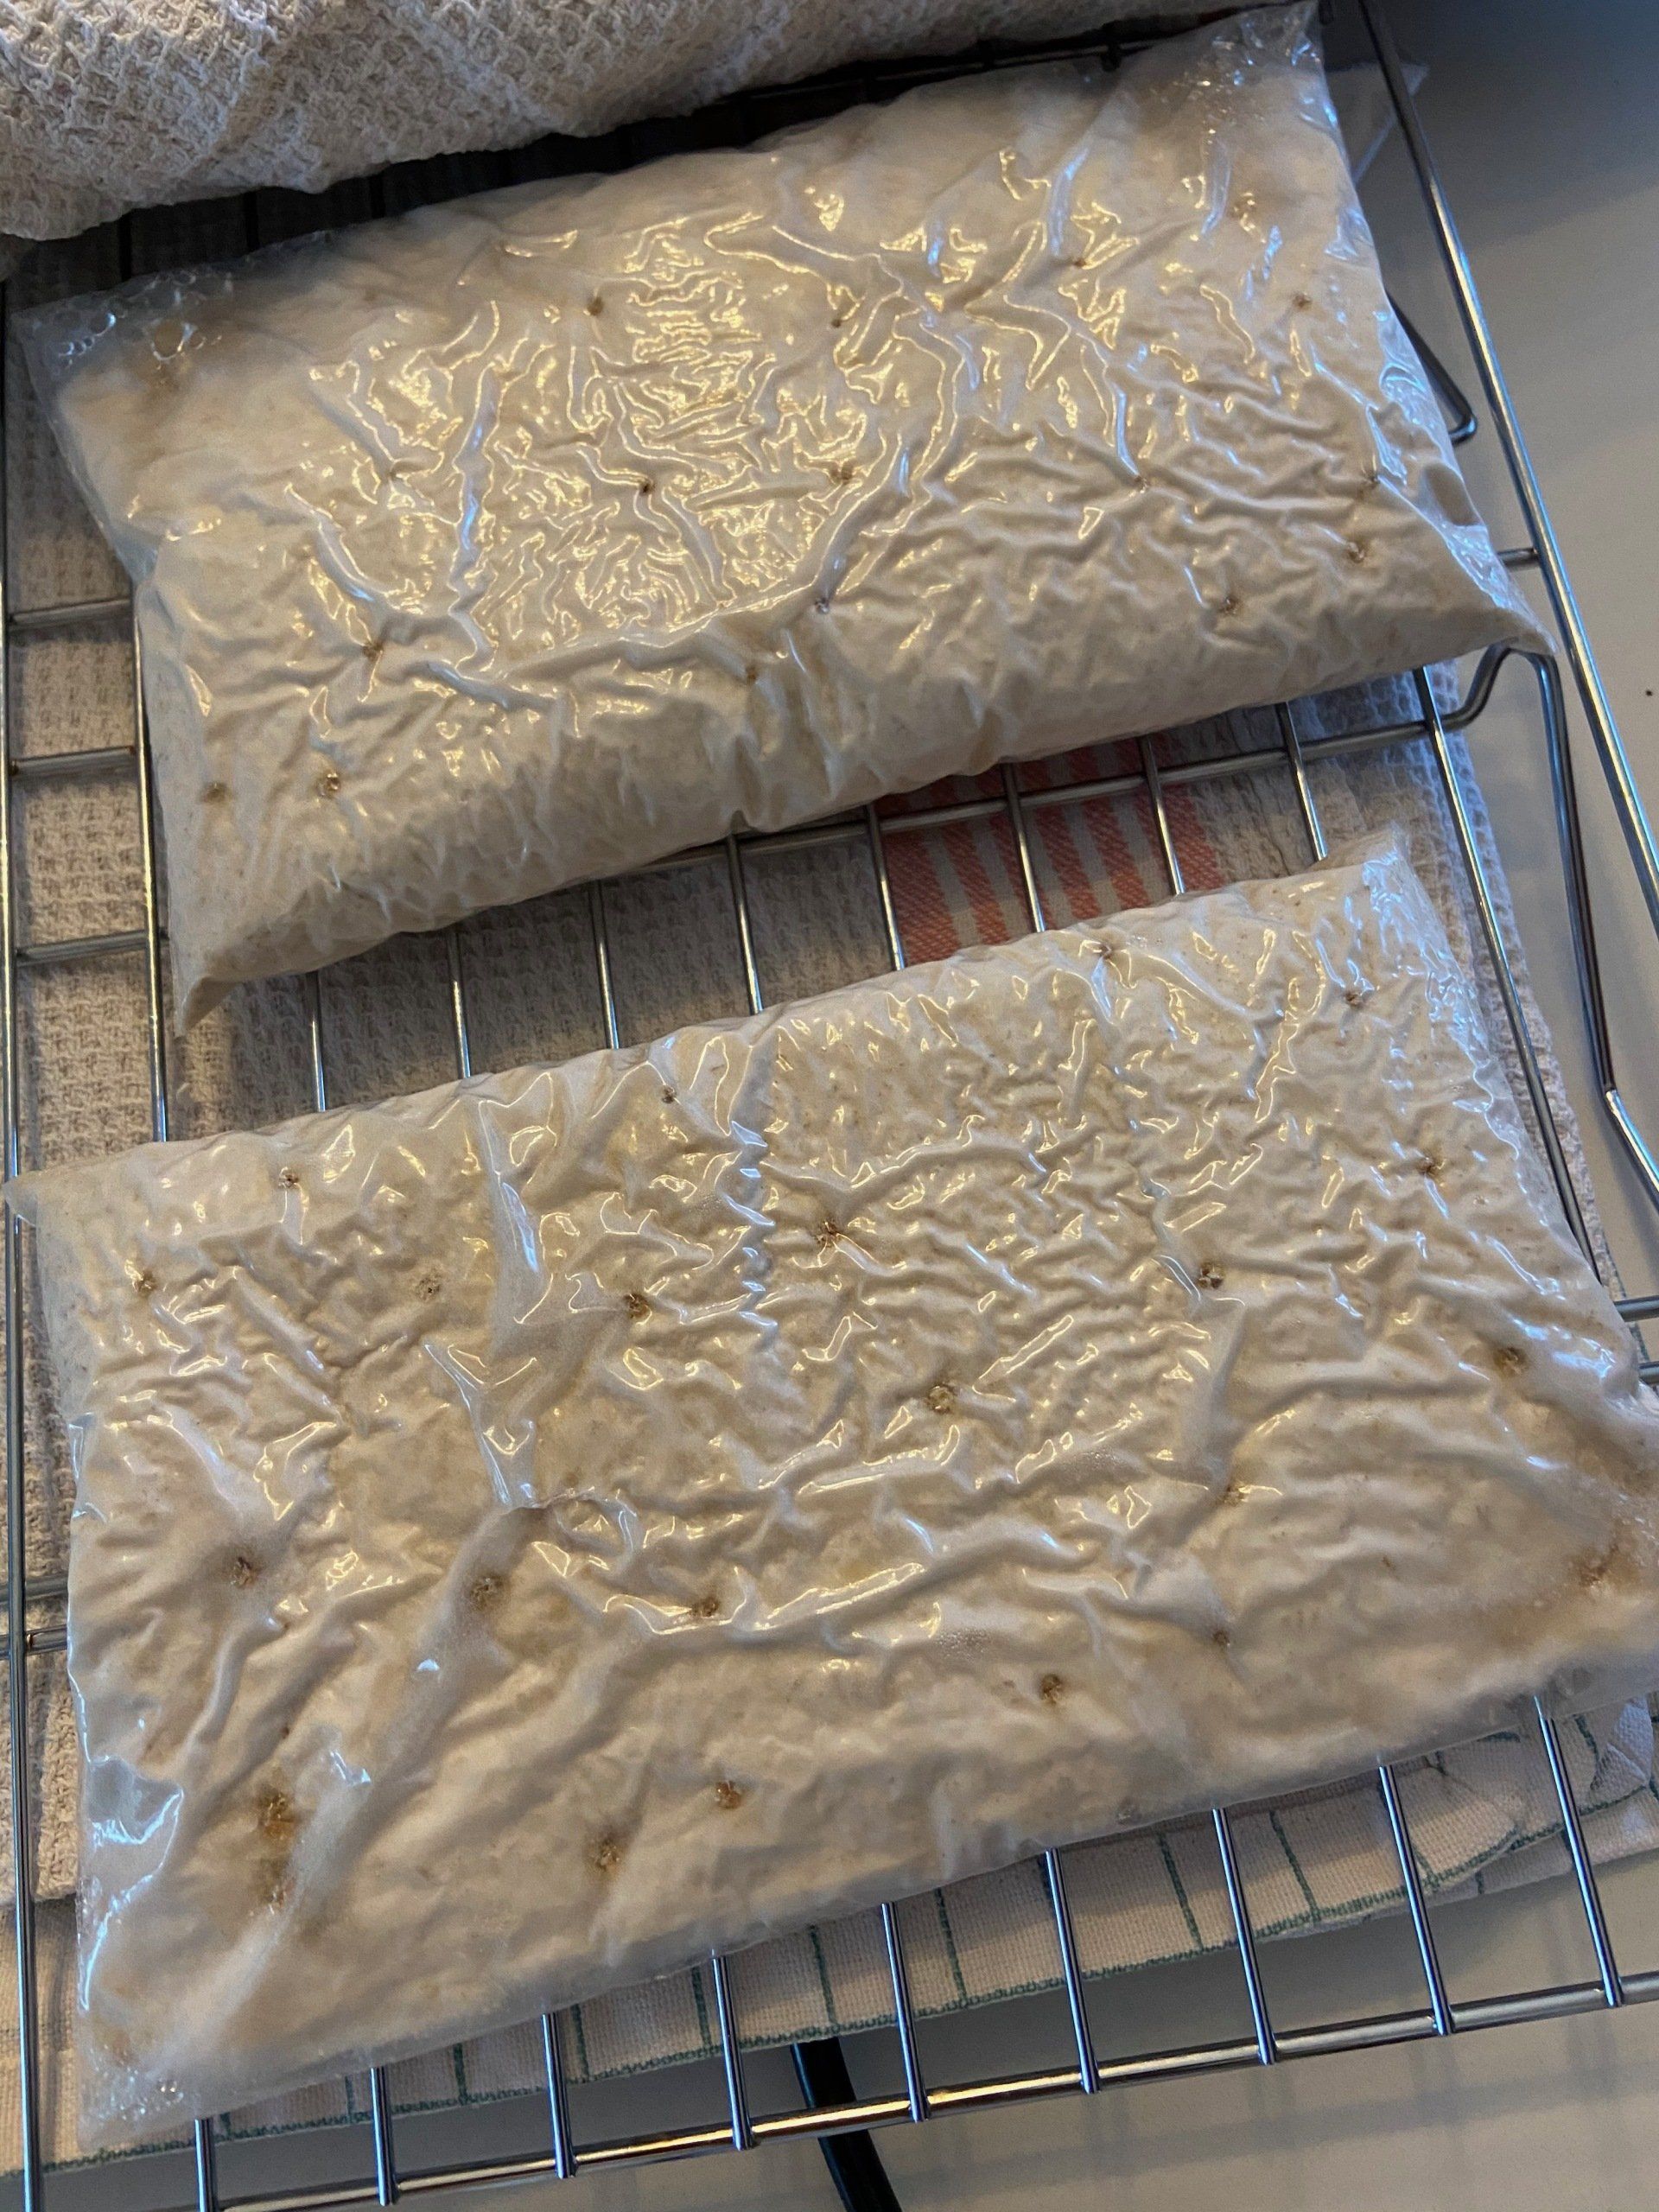
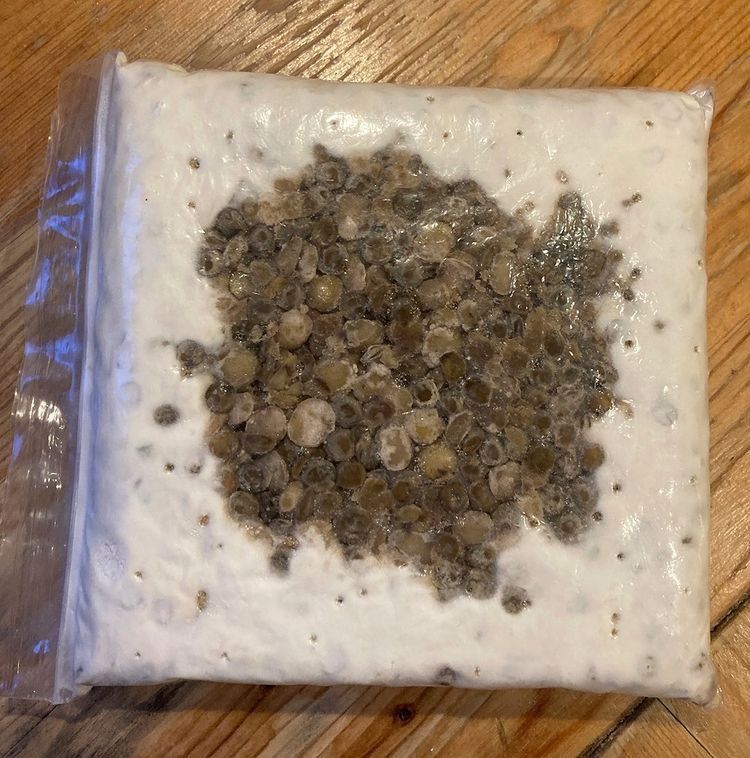
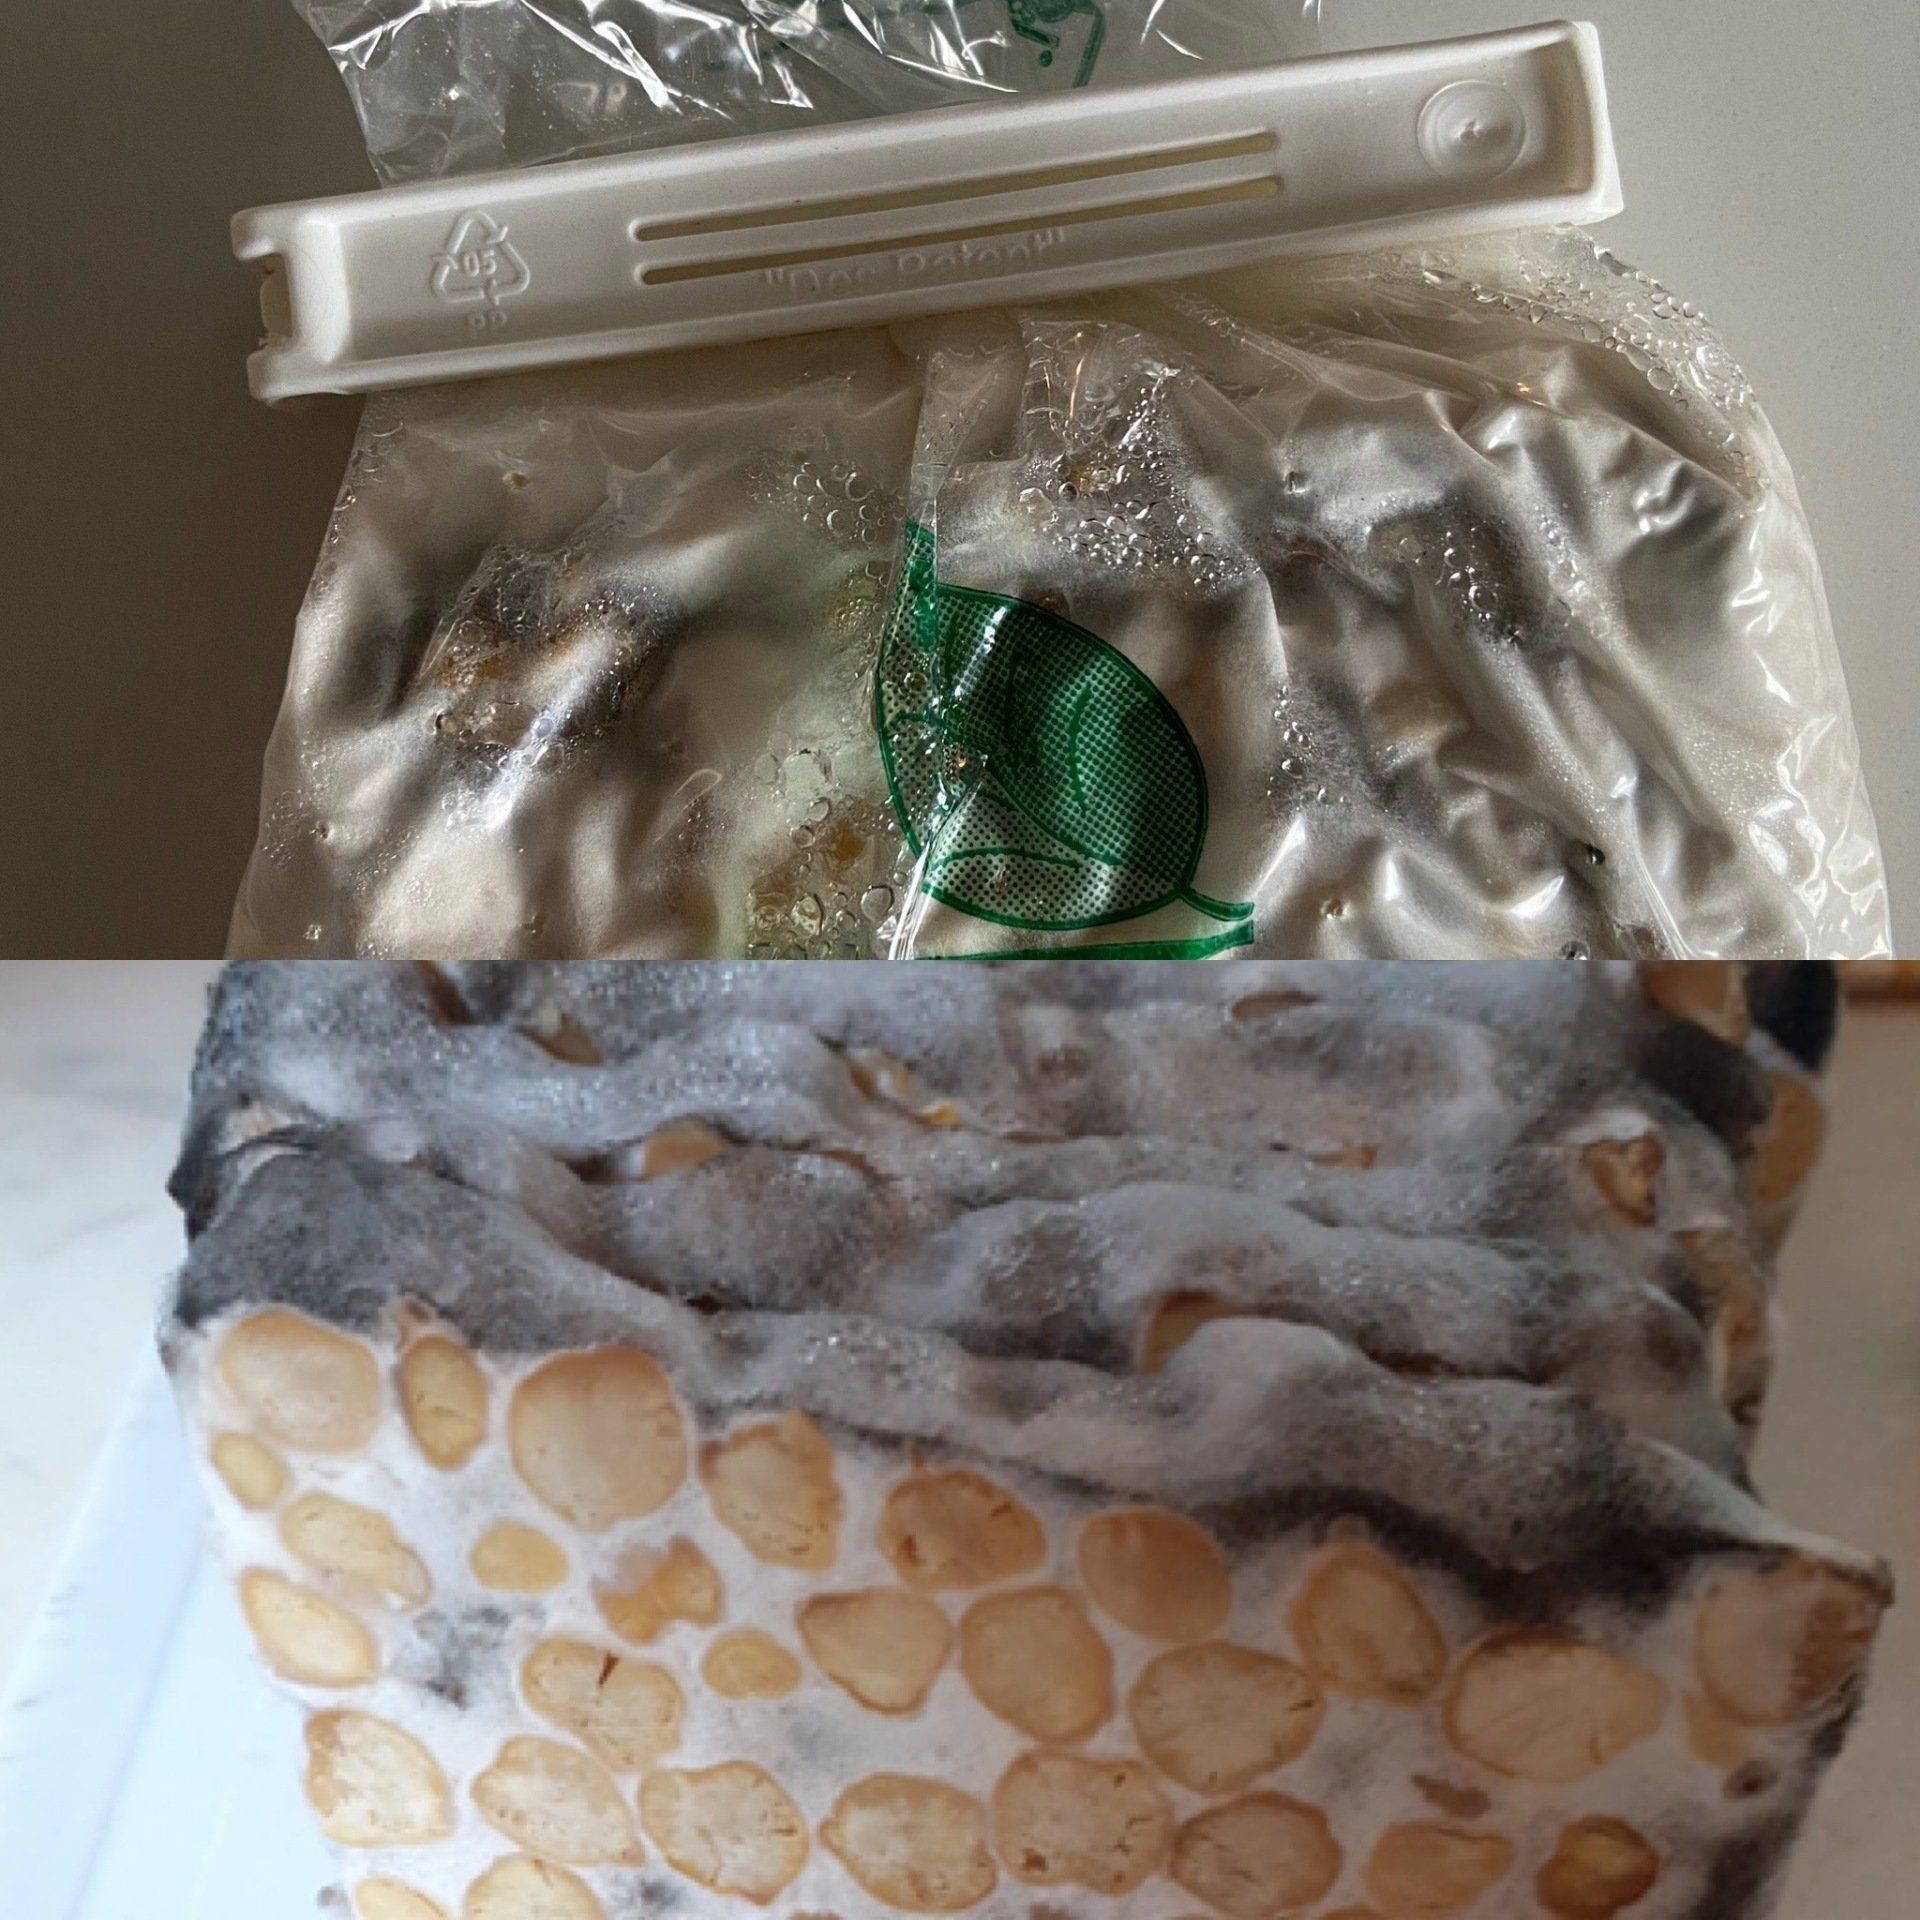
On Thursday at 10am the spores have already covered the okara. But don't get too excited yet as you need to leave them for another day. From our experience if you harvest them too soon, we find that some of the tempeh inside the bag will not be fully formed. This is perhaps because the beans are in grits and rough shape. Therefore please wait for another day to allow the spores to grow fully inside the bag.
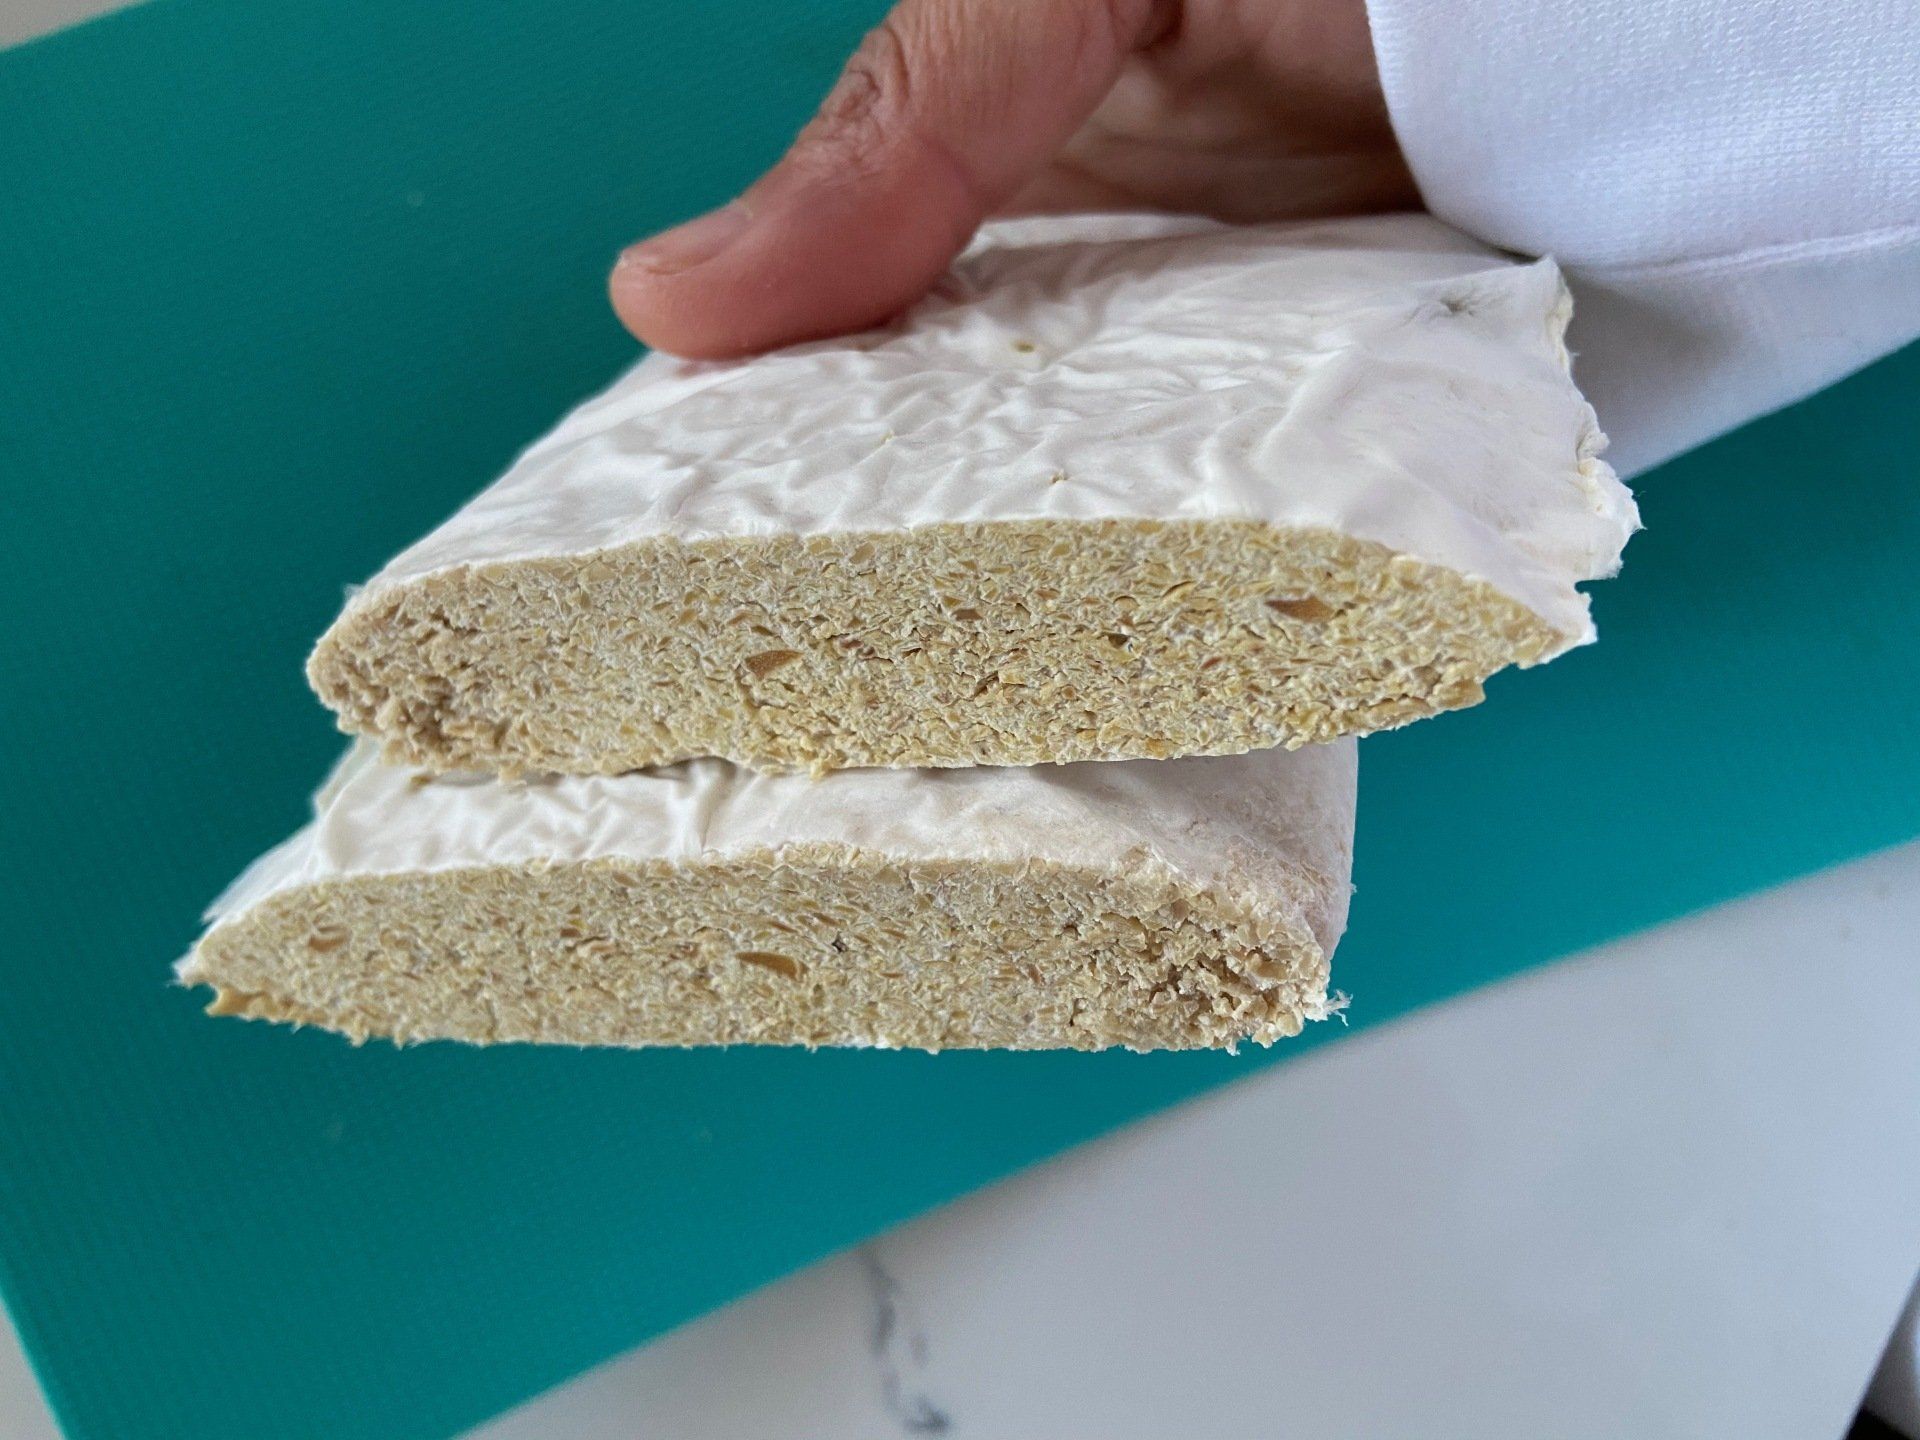
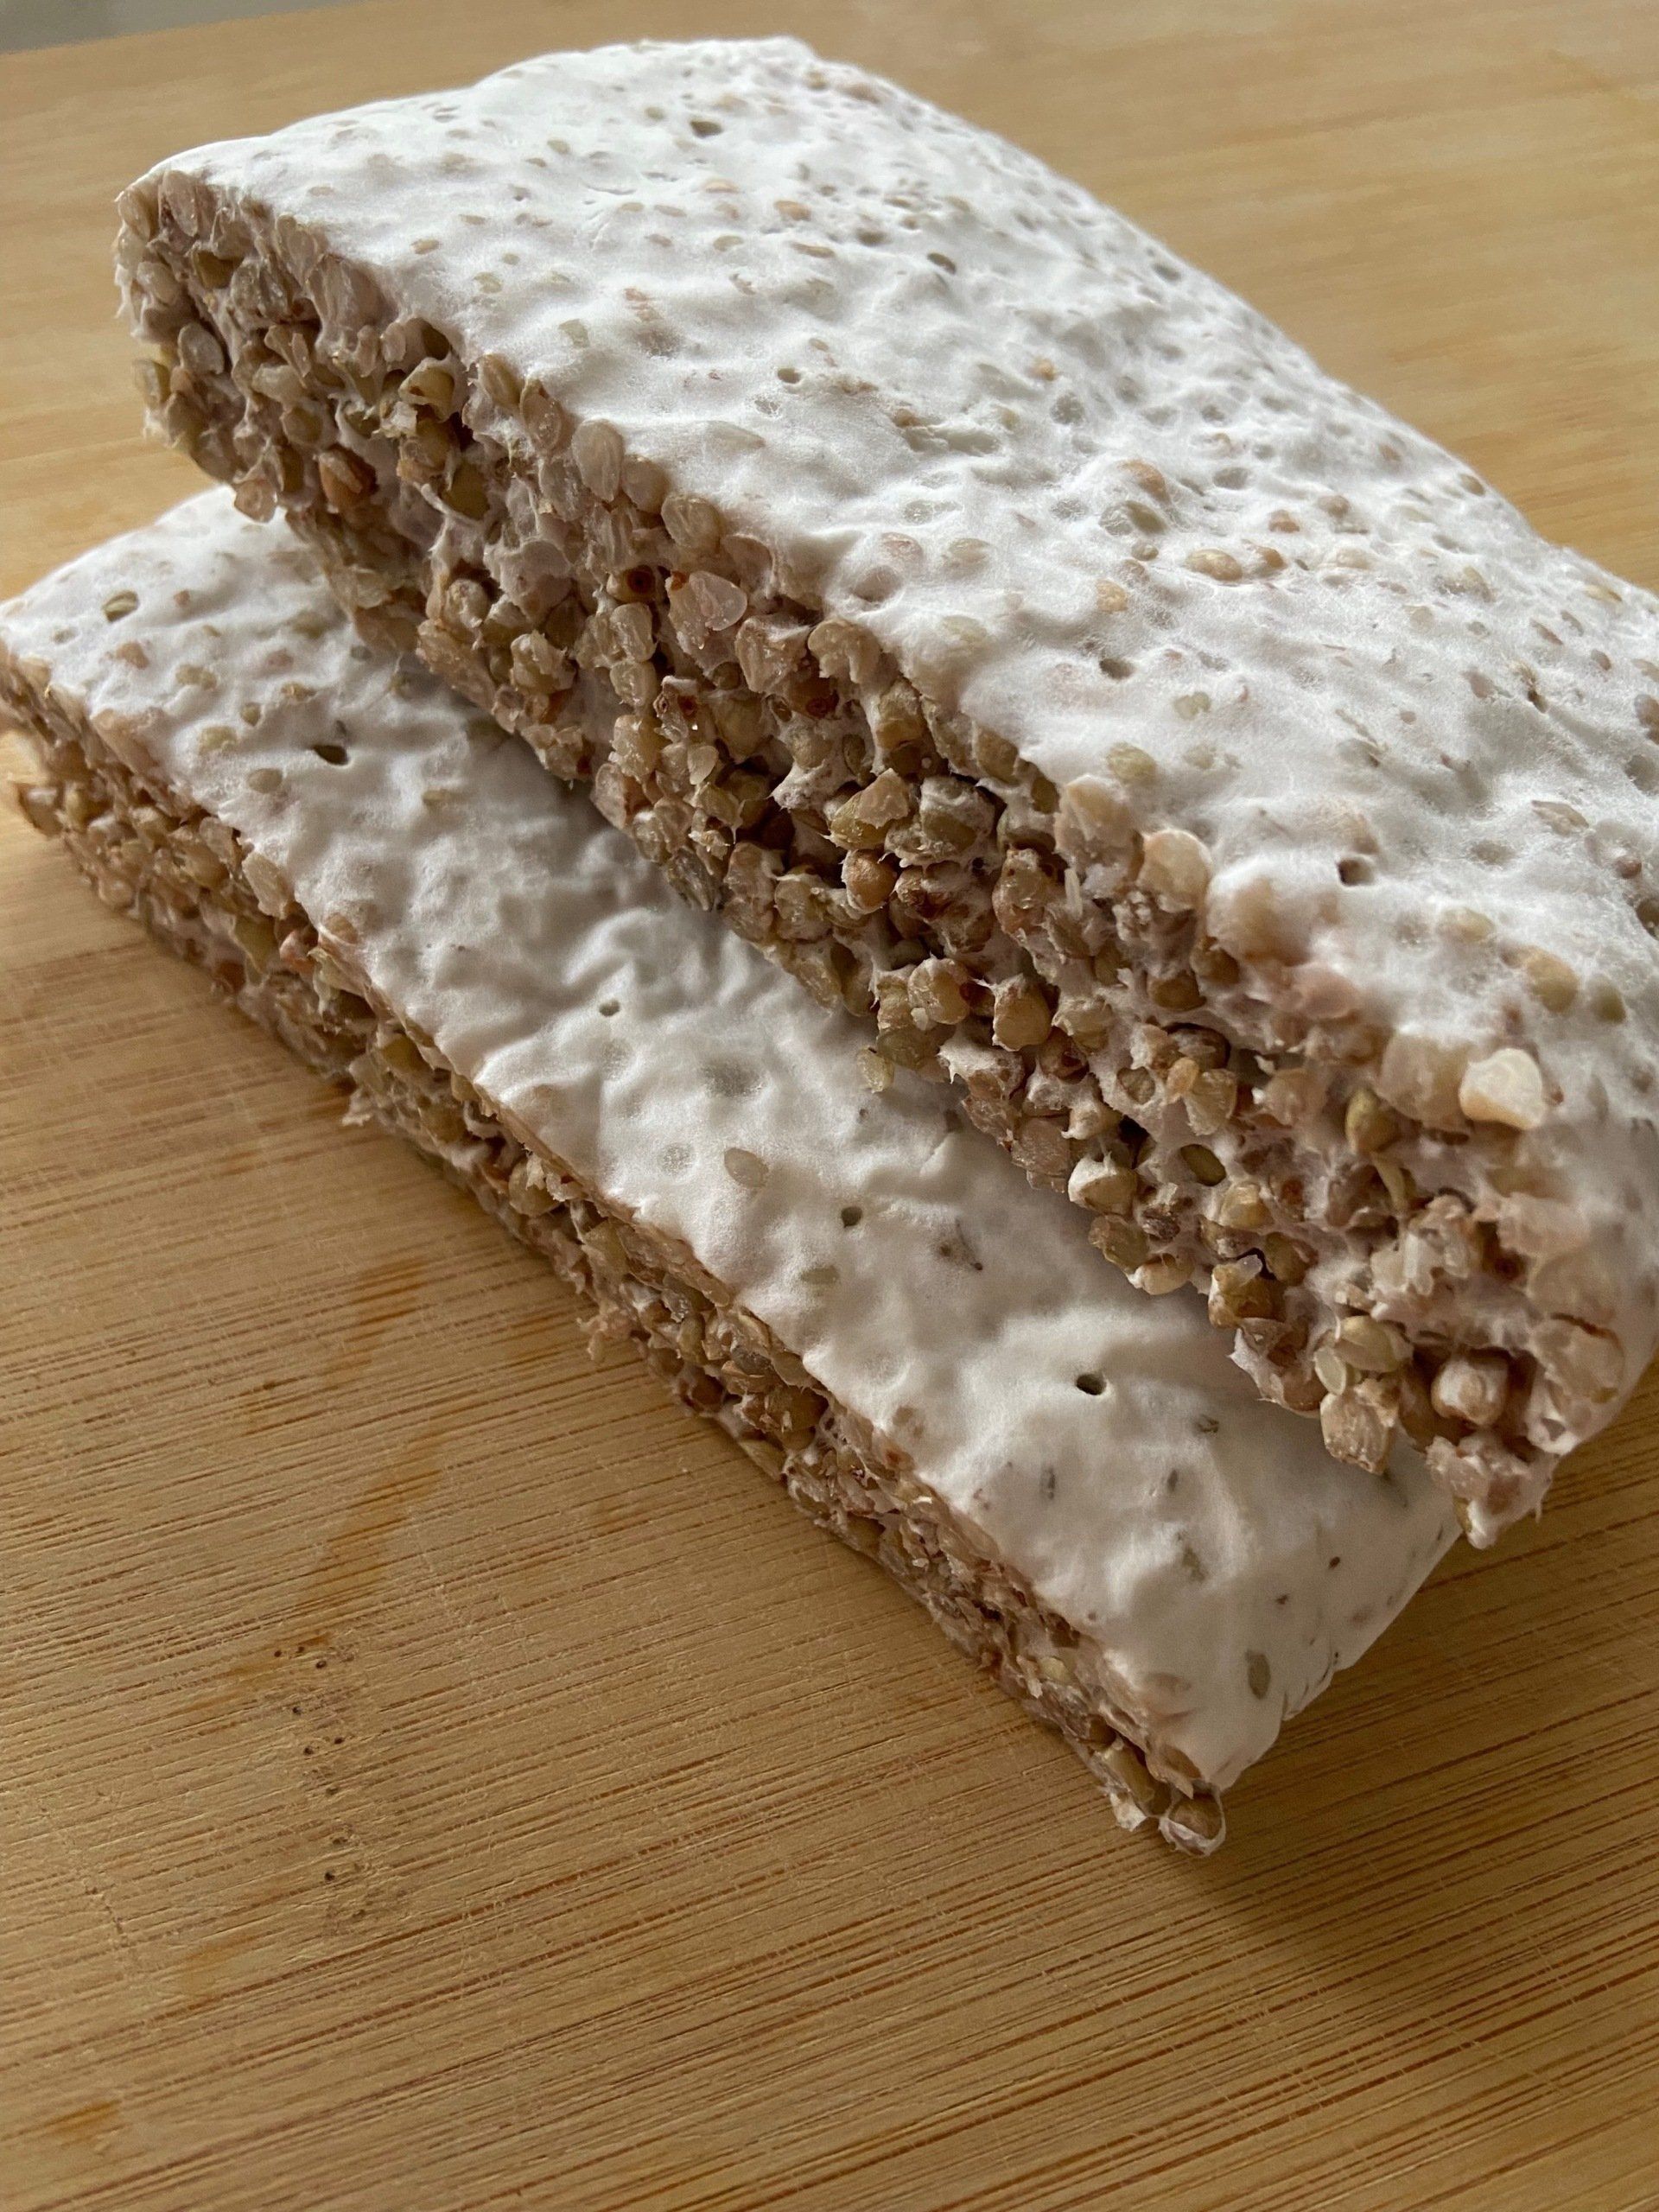
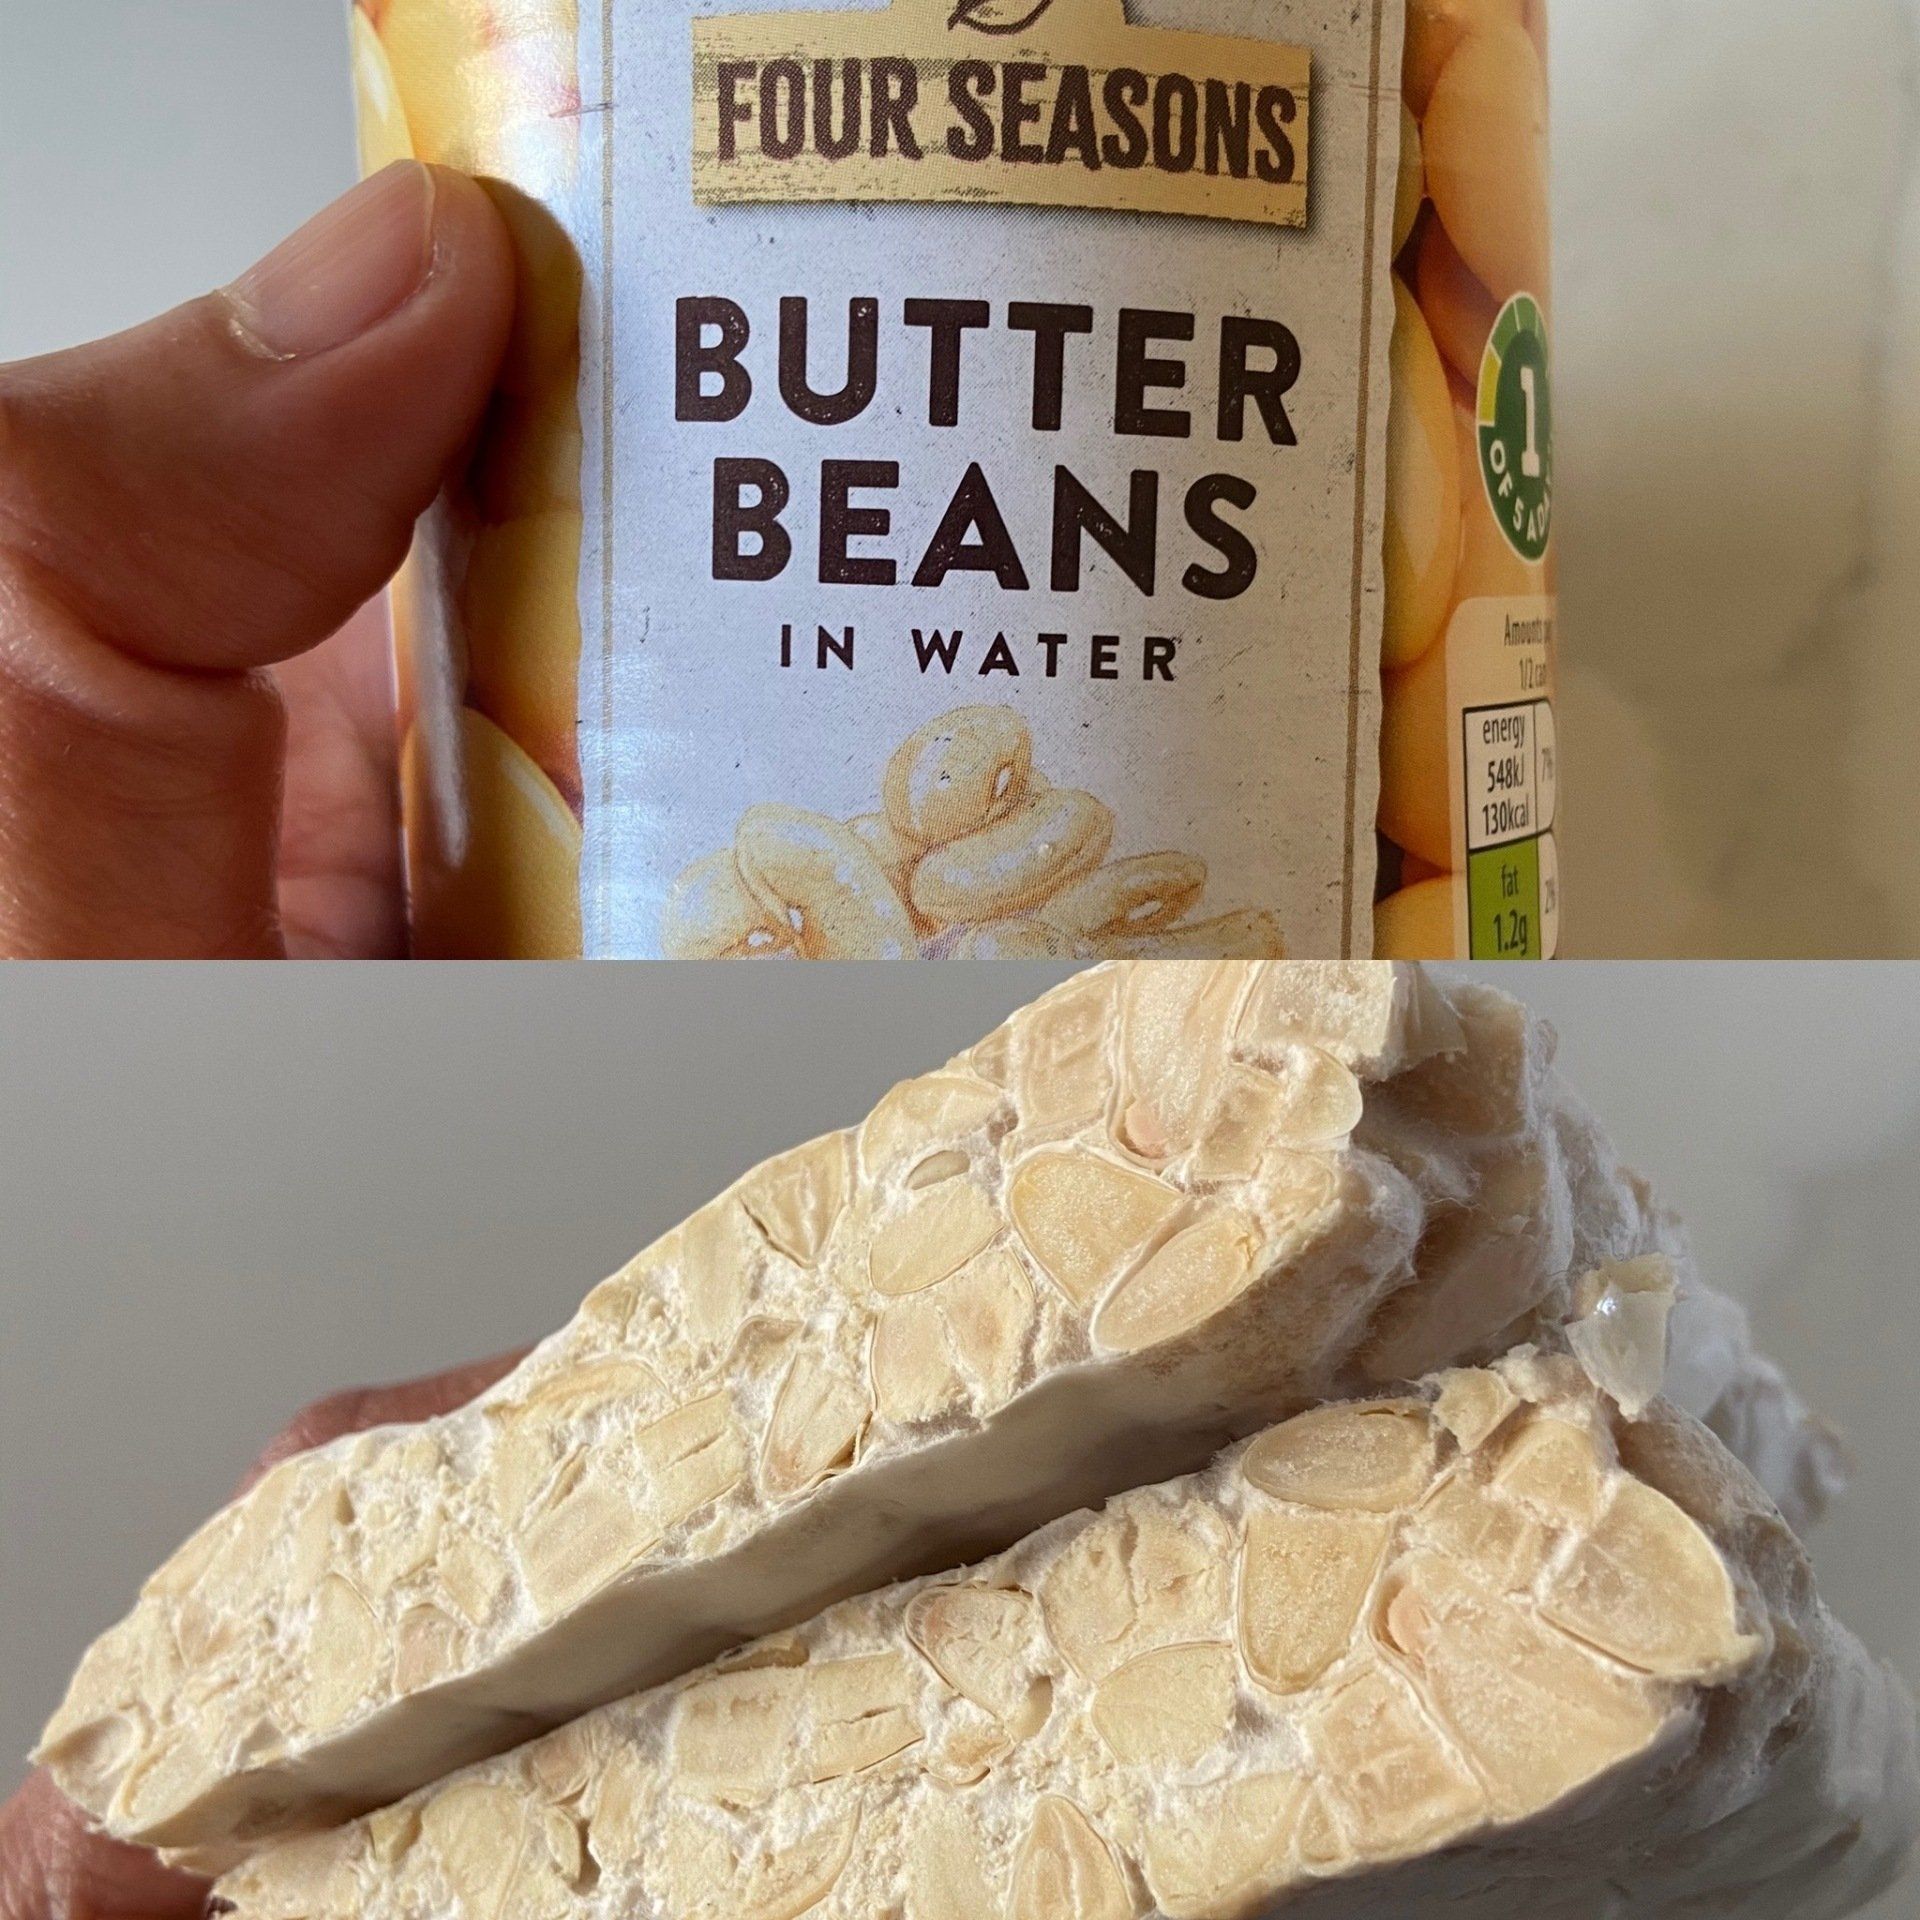
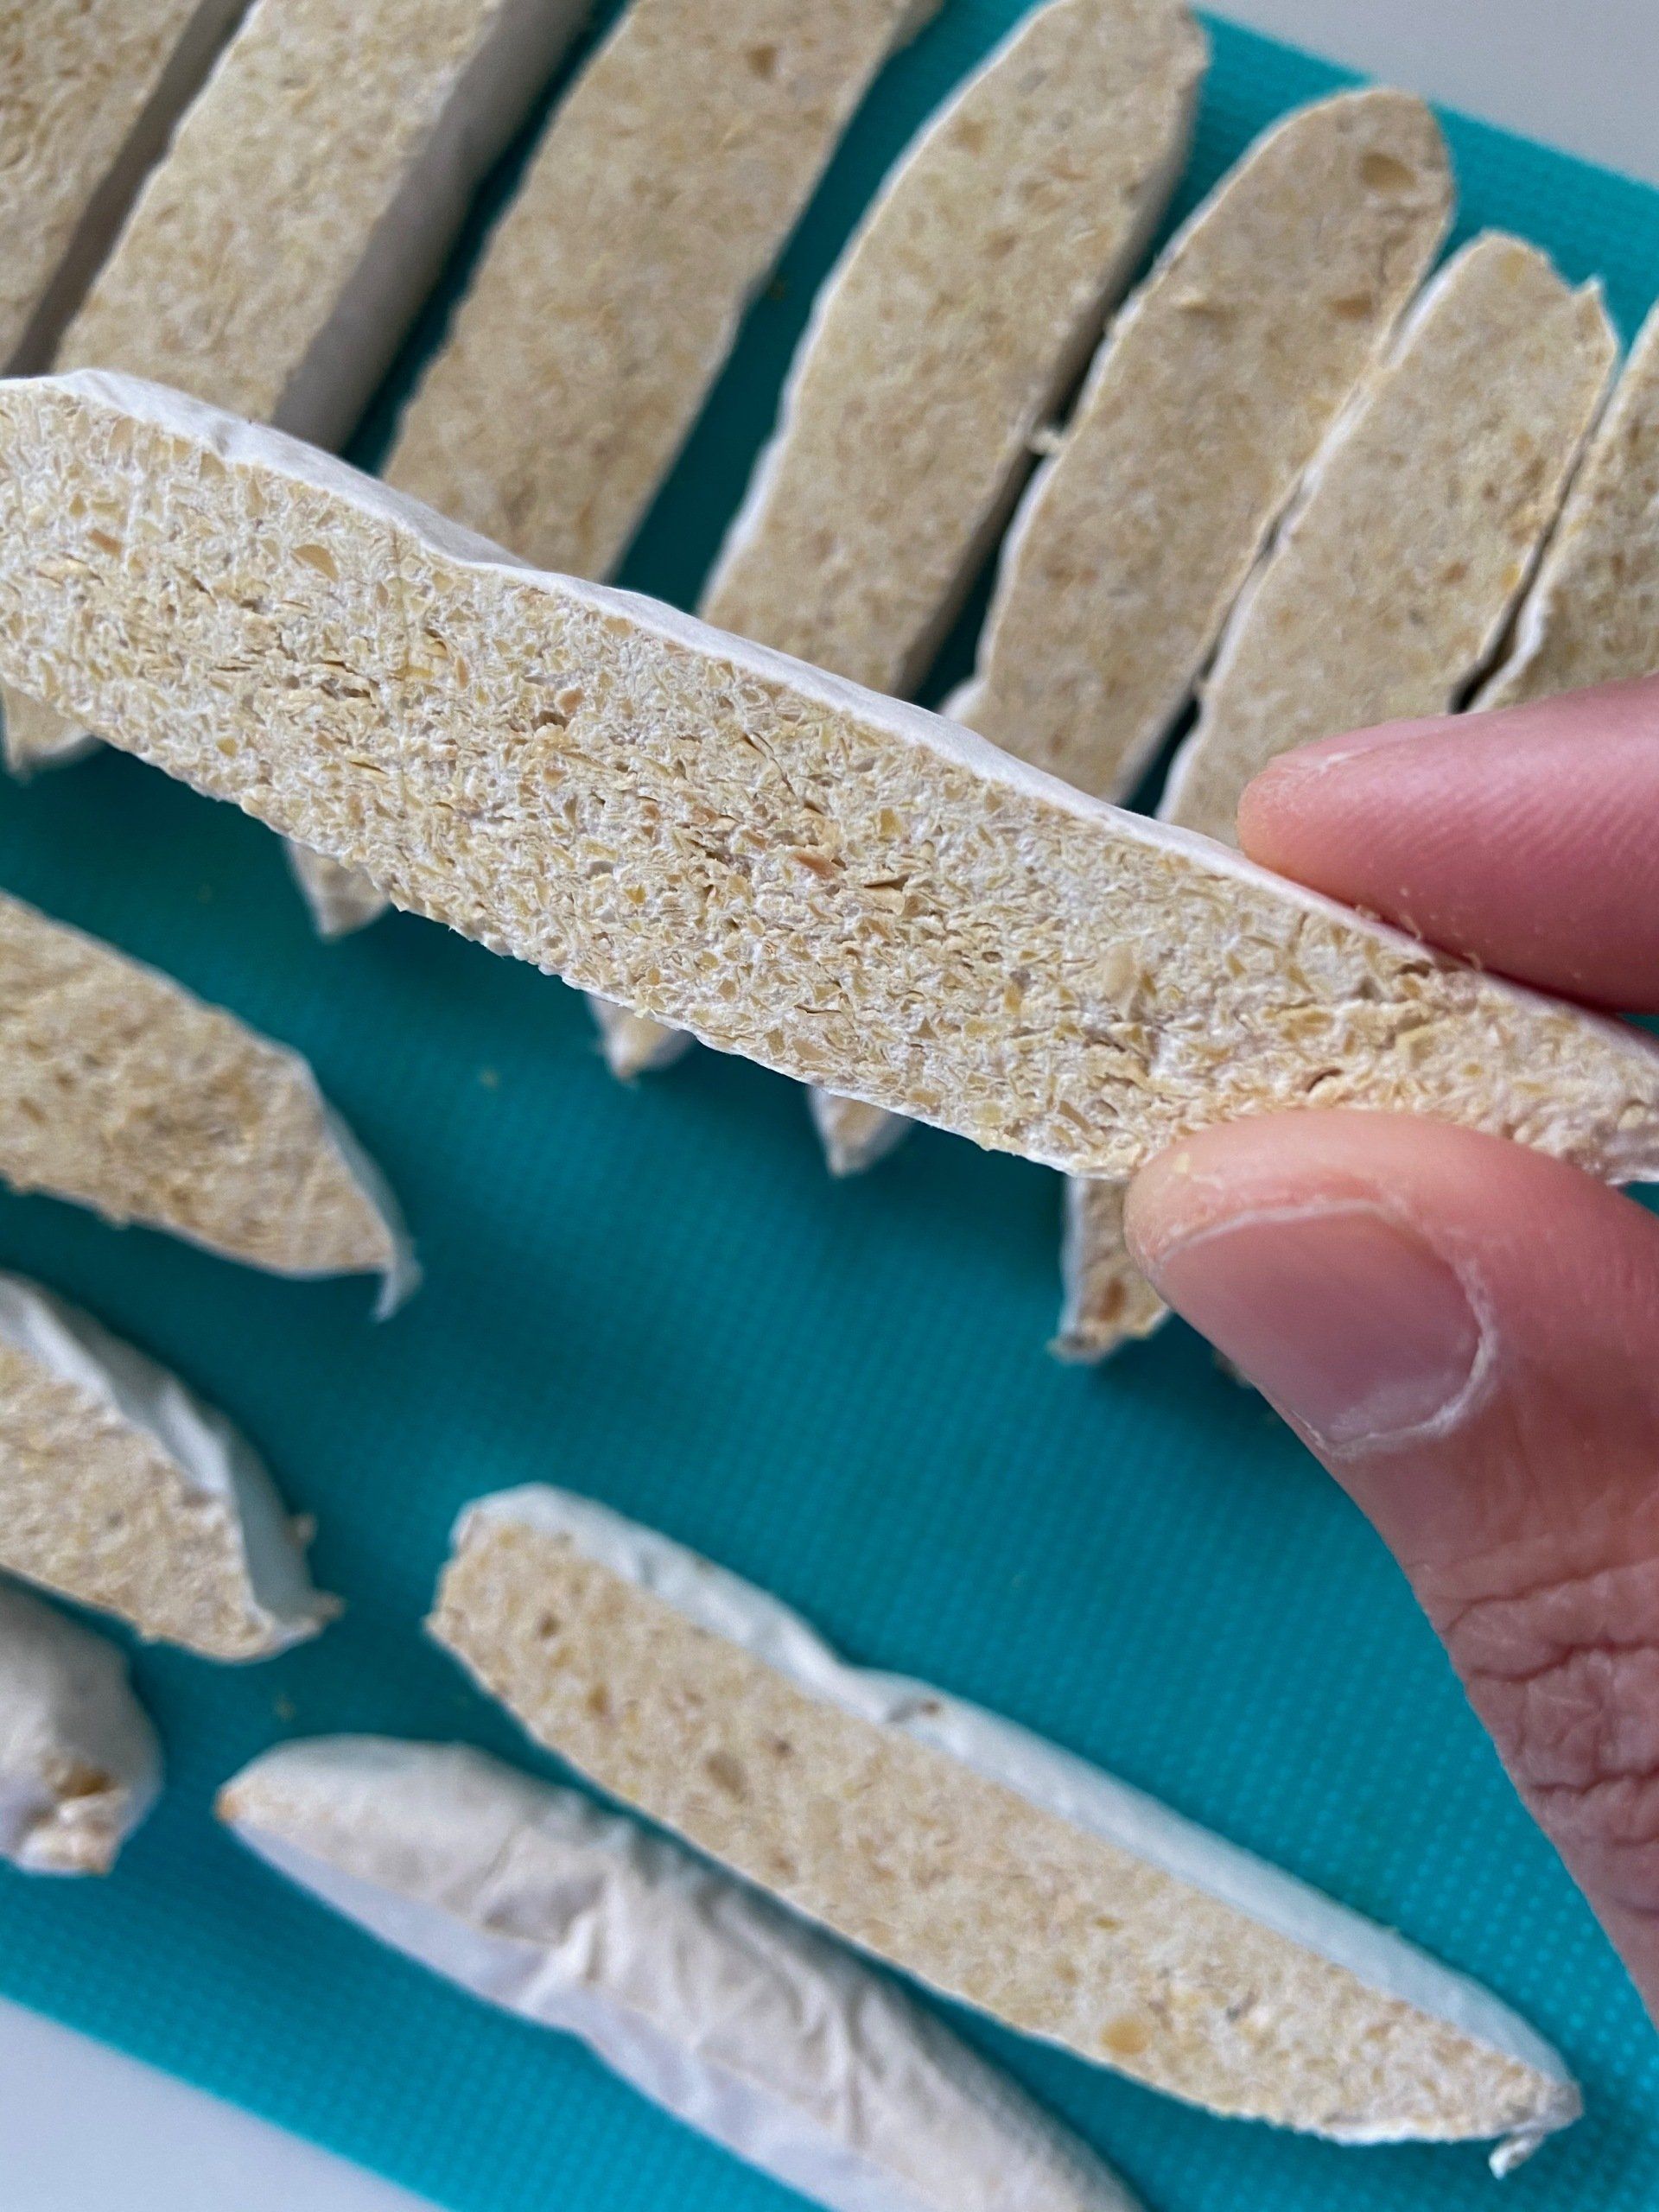
Check this out! On Friday this beautiful white okara tempeh is ready. The texture was firm and not crumbly, the flavour was very much like soya beans but softer. Now this has become our weekly diet of high protein tempeh. Good luck everyone!